
 Save
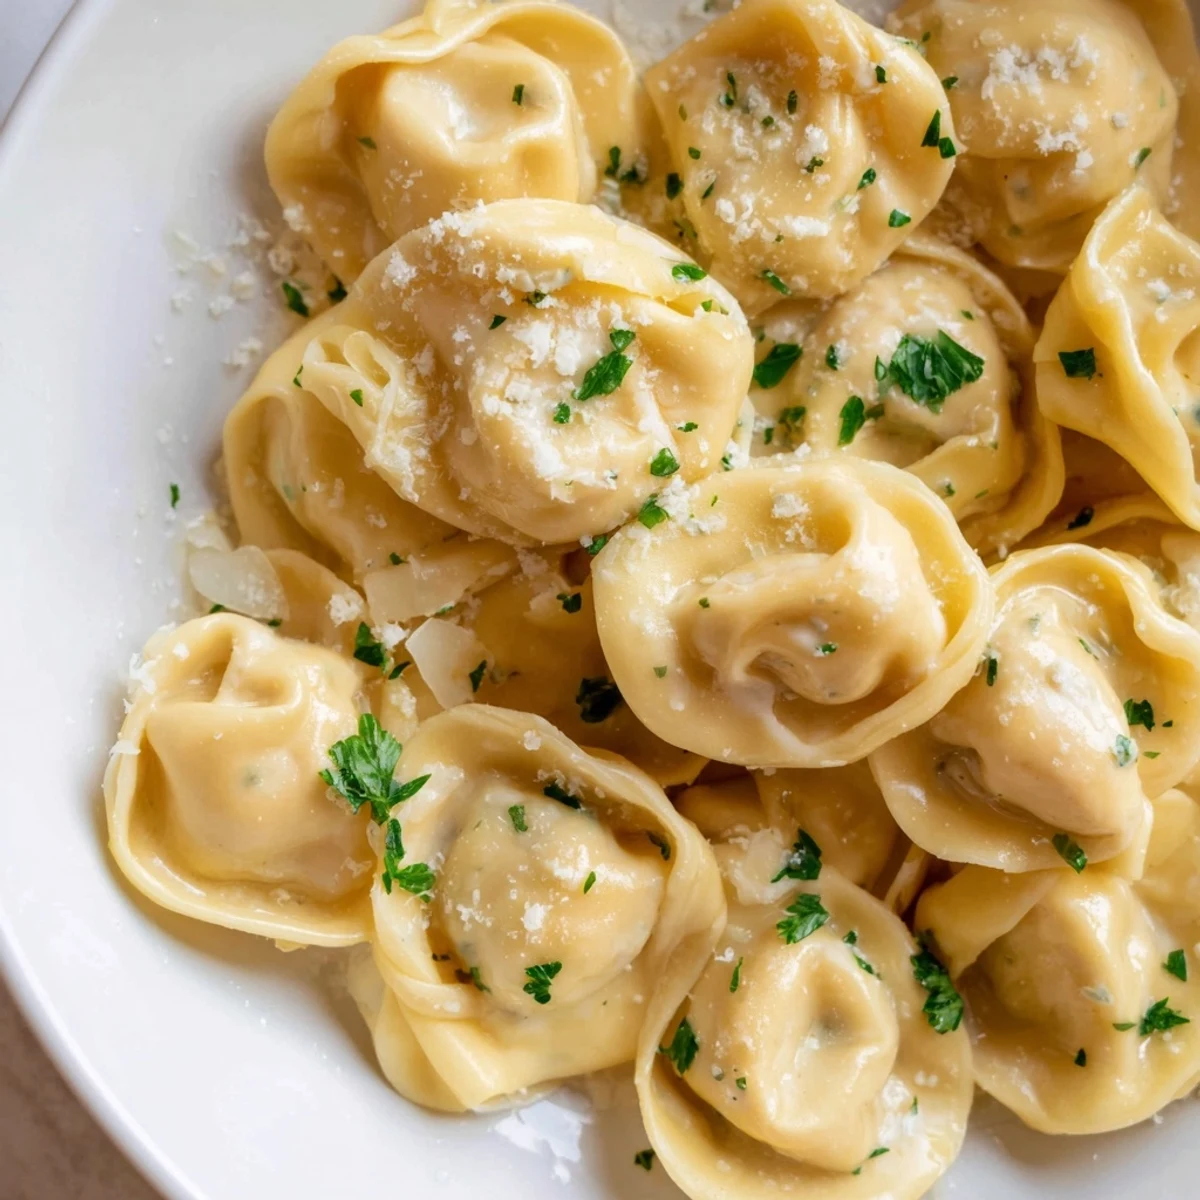
Save These homemade chicken tortellini bring authentic Italian flavors straight to your kitchen. Each delicate pasta pocket is filled with a savory blend of finely chopped chicken breast, creamy ricotta, Parmesan, garlic, and fresh parsley, seasoned with a hint of nutmeg.
The tortellini are hand-formed from scratch using a simple flour-and-egg dough, then gently boiled until they float to perfection. A luscious cream sauce made with heavy cream, butter, and Parmesan coats every bite.
Ready in about an hour, this dish serves four and makes a wonderful weeknight dinner or a cozy family meal that feels truly special.
The flour crater erupted on my countertop one rainy Tuesday evening, eggs sliding every which direction while my dog barked at the chaos unfolding in the kitchen. That was my first attempt at homemade tortellini, and honestly the mess was half the fun. Something about working dough with your own hands turns an ordinary weeknight into an event worth remembering. Now this dish has become my go to when I want to slow down and actually enjoy the act of cooking.
My sister walked in last winter while I was sealing the edges of dozens of little pasta pockets and immediately grabbed a square of dough to try it herself. We stood side by side for an hour, filling and folding, laughing at her lopsided first attempts while a pot of salted water steamed on the stove behind us.
Ingredients
- All purpose flour (2 cups): The foundation of your pasta dough, sifted if you want an extra silky texture but honestly straight from the bag works too.
- Eggs (3 large): Room temperature eggs blend more smoothly into the flour, so pull them out of the fridge about thirty minutes ahead.
- Salt (1/2 tsp for dough): Just enough to season the pasta from within, not enough to toughen the dough.
- Cooked chicken breast, finely chopped (1 cup): Rotisserie chicken is the busy cooks best friend here, and the darker meat bits actually add more flavor than plain breast.
- Ricotta cheese (1/2 cup): This keeps the filling tender and moist, so drain excess liquid first for the best texture.
- Grated Parmesan cheese (1/4 cup for filling, 1/2 cup for sauce): Freshly grated melts better and tastes sharper than the pre shredded kind, and you will notice the difference.
- Garlic, minced (1 clove): One clove is plenty since it should whisper, not shout, through the filling.
- Fresh parsley, finely chopped (2 tbsp): Adds a bright herbal note that dried parsley simply cannot replicate in this context.
- Ground nutmeg (1/4 tsp): This tiny amount is the secret that makes people ask what is in the filling, so do not skip it.
- Salt and pepper (to taste): Season the filling before you seal any pasta and you will thank yourself later.
- Heavy cream (1 cup): The backbone of the sauce, and honestly there is no lighter substitute that delivers the same silky result.
- Unsalted butter (2 tbsp): Gives the sauce a rounded richness without making it feel heavy.
- Freshly ground black pepper (to taste): A generous crack of pepper at the end balances the cream beautifully.
- Fresh parsley and extra Parmesan (for serving): The finishing touches that make the dish look as good as it tastes.
Instructions
- Build your dough mountain:
- Mound the flour on a clean surface, create a deep well in the center, and crack the eggs right in there with the salt. Beat gently with a fork, slowly pulling in flour from the walls until everything comes together, then knead firmly for seven to eight minutes until the dough is smooth and springs back when poked.
- Mix the filling:
- Combine the chopped chicken, ricotta, Parmesan, garlic, parsley, nutmeg, and a generous pinch each of salt and pepper in a bowl. Stir until evenly distributed, then taste a tiny bit and adjust seasoning before moving on.
- Rest the dough:
- Wrap the kneaded dough tightly in plastic and let it sit at room temperature for twenty minutes. This relaxes the gluten so rolling goes smoothly without springing back at you.
- Roll and shape:
- Roll the dough as thin as you can manage, about one sixteenth of an inch, and cut it into two inch squares. Place a small spoonful of filling in the center of each square, fold diagonally to form a triangle, press the edges firmly to seal, then bring the two bottom corners together around your finger to form the classic tortellini shape.
- Boil the tortellini:
- Drop them in batches into a large pot of aggressively salted boiling water and cook for three to four minutes until they float to the surface. Lift them out with a slotted spoon and keep warm while you finish the rest.
- Make the cream sauce:
- Melt butter in a saucepan over medium heat, pour in the cream, and let it simmer gently for two to three minutes. Stir in the Parmesan until it melts into a smooth, glossy sauce and finish with black pepper to your liking.
- Bring it all together:
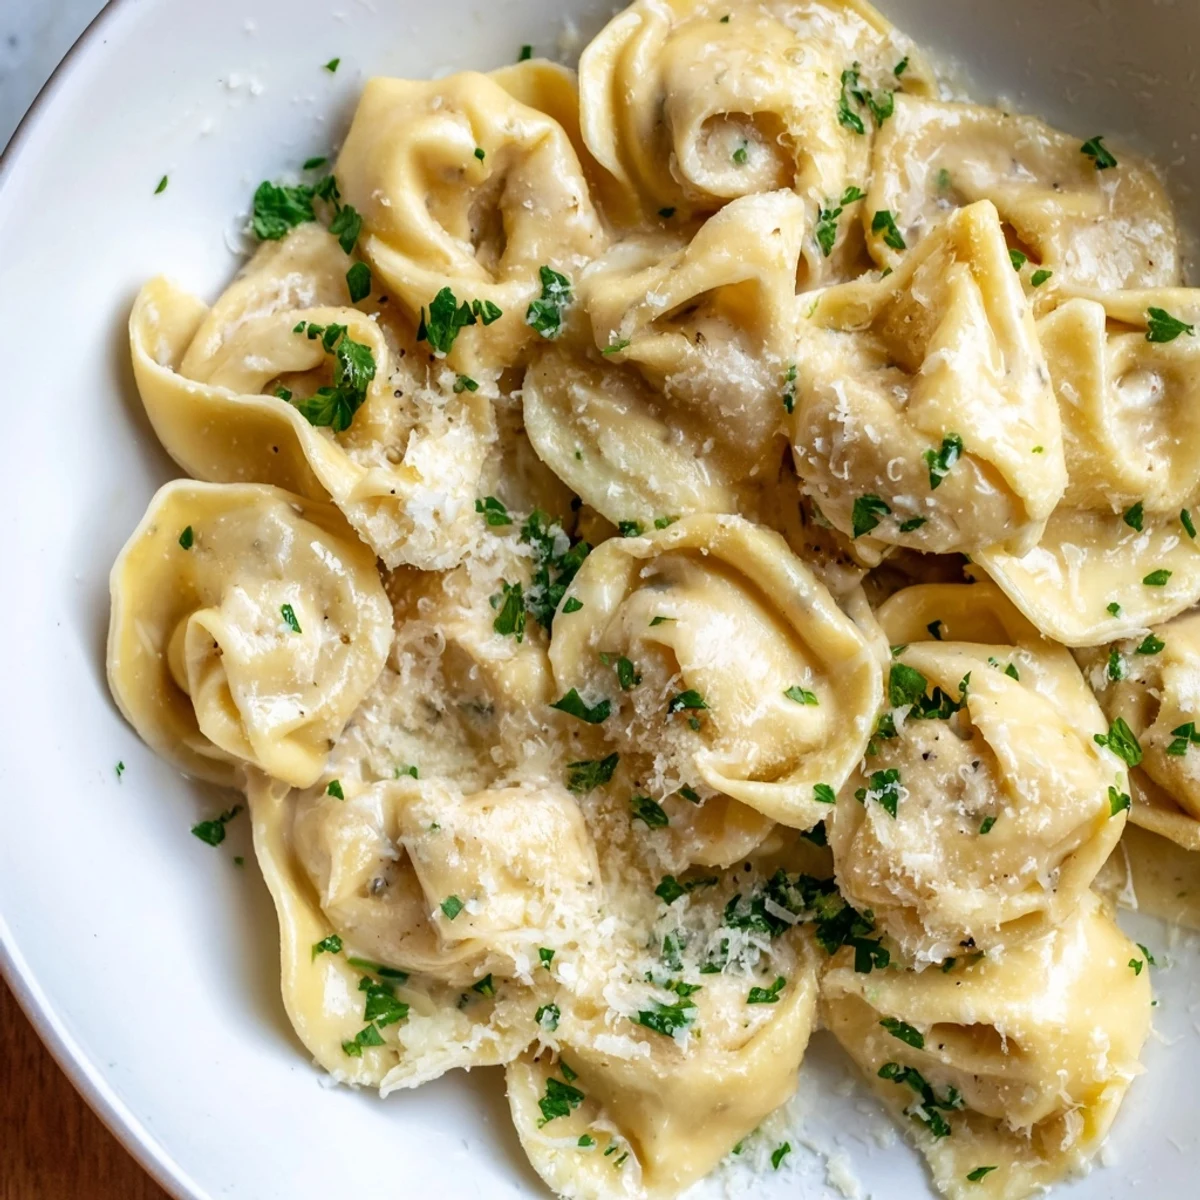
- Toss the warm tortellini gently in the sauce until every piece is coated, then plate with a shower of fresh parsley and an extra dusting of Parmesan. Serve immediately while everything is still piping hot.
 Save
Save There is something quietly magical about placing a plate of handmade pasta in front of someone who expected an ordinary dinner. The reaction is always the same, a pause, then that first wide eyed bite that tells you every minute of effort was worth it.
Working Ahead Without Losing Freshness
You can prepare the filling a day in advance and keep it covered in the fridge, which takes a surprising amount of pressure off the process. The dough also rests beautifully overnight if you wrap it tightly, though you will need to bring it back to room temperature before rolling. I have started assembling tortellini on Sunday afternoons and freezing them flat on a parchment lined sheet pan before transferring to a bag for quick weeknight meals.
Pairing Suggestions That Actually Work
A crisp Pinot Grigio cuts right through the richness of the cream sauce without competing with the delicate filling. If you prefer red, a light bodied Chianti works surprisingly well here. A simple arugula salad with lemon dressing on the side refreshes the palate between bites and rounds out the whole meal beautifully.
Getting Creative With the Filling
Once you master the basic technique, the filling becomes your playground for whatever is in the fridge. Some of my best batches came from tossing in leftover herbs or an unexpected cheese that needed using up.
- Chopped spinach blended into the chicken filling adds color and a subtle earthiness that nobody will complain about.
- A pinch of lemon zest in the filling brightens everything and pairs especially well with the cream sauce.
- Always taste the filling before you commit to sealing fifty tortellini, because adjusting after that is not happening.
 Save
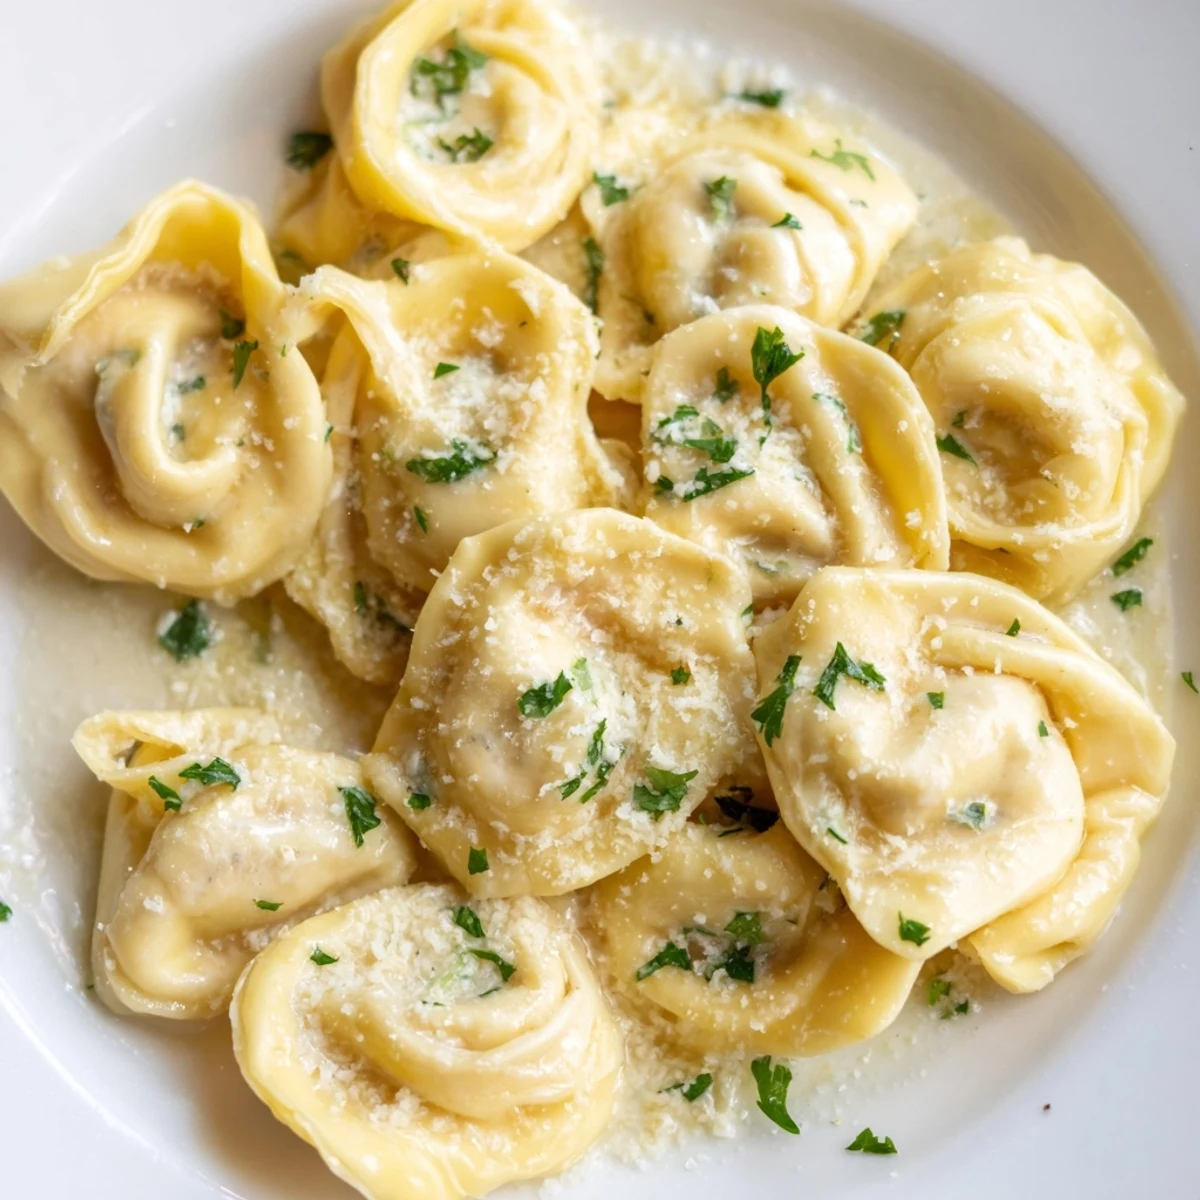
Save Handmade tortellini is not about perfection, it is about the warm satisfaction of creating something from scratch that brings people to the table and keeps them there. Every slightly crooked fold tells the story of the hands that made it.
Recipe FAQs
- → Can I use store-bought tortellini instead of making the dough from scratch?
-
Absolutely. Store-bought tortellini will save you significant prep time. Look for fresh refrigerated tortellini in the pasta aisle, cook according to package directions, and proceed with the cream sauce as written.
- → What can I substitute for ricotta cheese in the filling?
-
You can use mascarpone for a richer texture, or cottage cheese blended until smooth. Cream cheese softened and mixed with a splash of milk also works well as a ricotta alternative.
- → How do I prevent the tortellini from opening while boiling?
-
Make sure the edges are sealed tightly by pressing firmly and brushing a tiny bit of water or egg wash along the edges before folding. Also, avoid overcrowding the pot — cook in small batches and gently stir to prevent sticking.
- → Can I freeze homemade tortellini for later use?
-
Yes, freeze them in a single layer on a floured baking sheet until solid, then transfer to a freezer bag. They can be stored for up to three months. Cook them directly from frozen, adding one to two extra minutes to the boiling time.
- → What wine pairs well with chicken tortellini in cream sauce?
-
A crisp Pinot Grigio or a light-bodied Chardonnay complements the creamy sauce beautifully. If you prefer red wine, a light Pinot Noir works nicely without overpowering the delicate flavors.
- → How thin should I roll the pasta dough?
-
Aim for about 1/16-inch thickness. The dough should be thin enough to see the shadow of your hand through it but sturdy enough to hold the filling without tearing. A pasta machine makes this easier and more consistent.