 Save
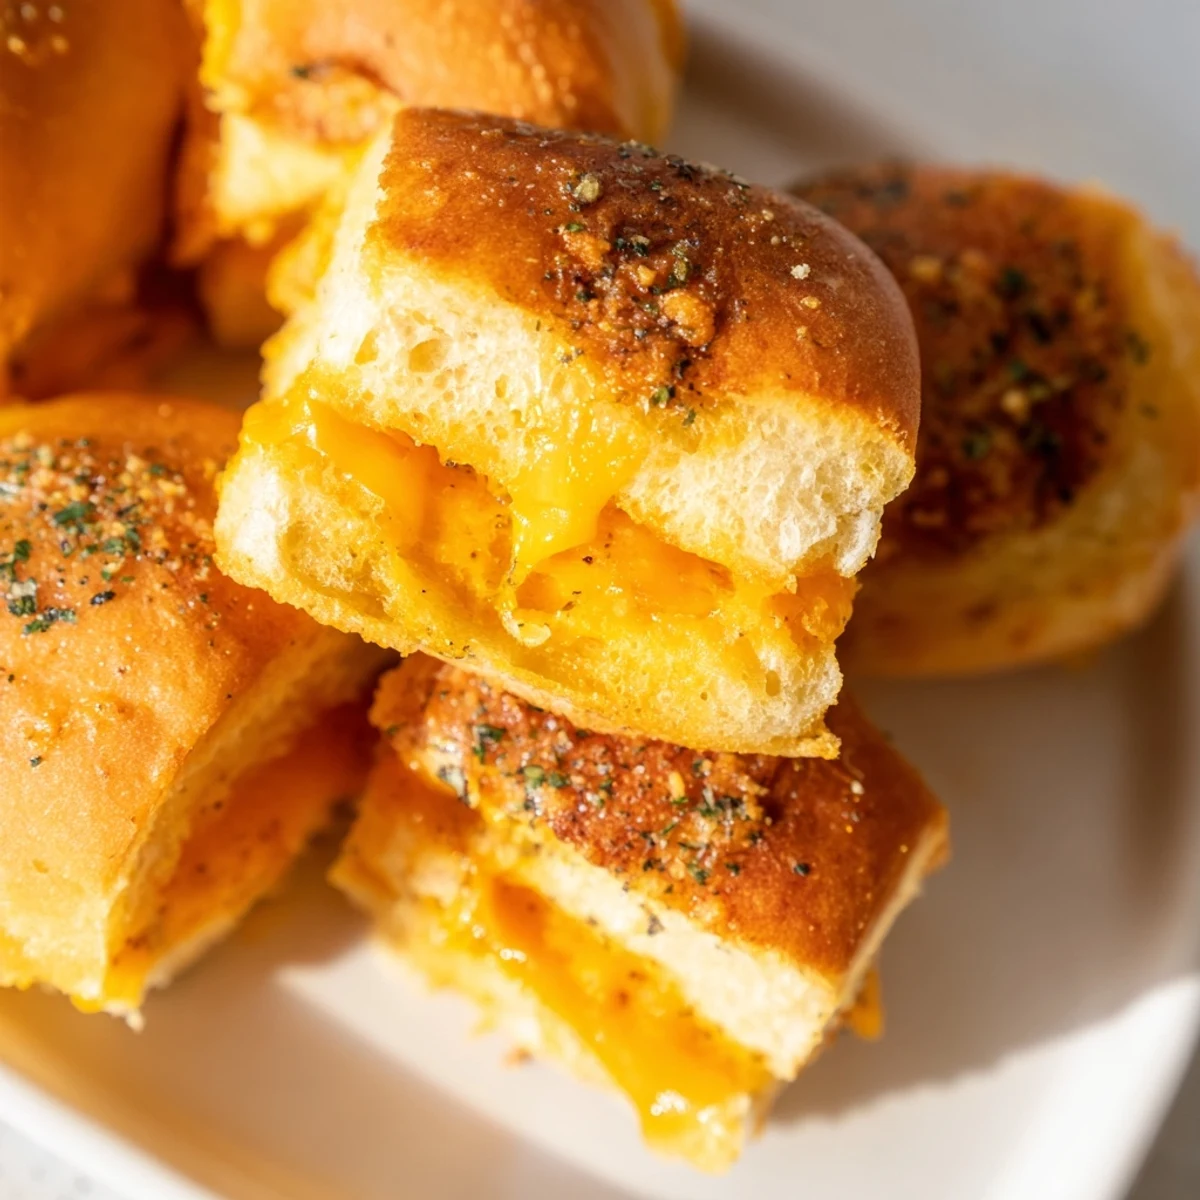
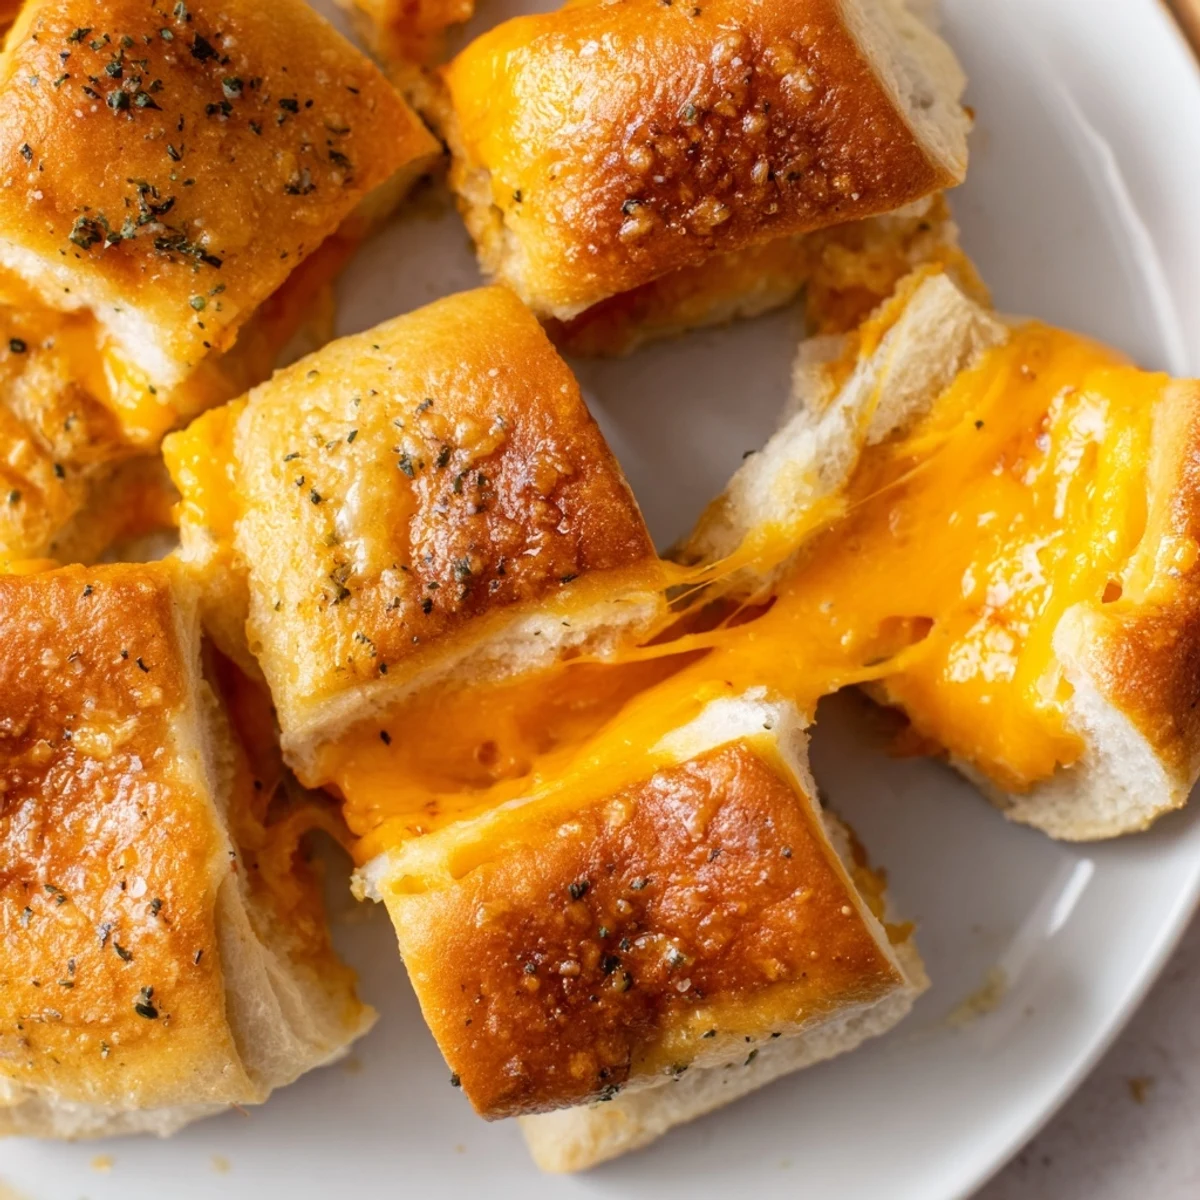
Save These Hawaiian roll sliders feature sweet bread baked until golden with layers of melted cheddar cheese inside. The entire block of rolls stays connected while baking, creating effortless individual portions that pull apart easily.
Brush the tops with melted butter and sprinkle with garlic powder and parsley for extra flavor. Optional Dijon-mayo spread adds tangy depth that complements the sweet rolls perfectly.
Bake covered first to heat through, then uncover for the final minutes to achieve crispy, golden tops. Ready in just 25 minutes total, these make excellent party finger food or quick snacks kids love.
The contrast between sweet rolls and savory cheese creates addictive flavor. Customize with cooked bacon, ham, tomato slices, or swap cheeses for variety. Serve alongside tomato soup for a comforting meal.
The first time I made these for a Super Bowl party, my friend Sarah literally hovered over the baking sheet, waiting for that final foil reveal. The sweet-savory combo of Hawaiian rolls and sharp cheddar creates something unexpectedly addictive that makes people forget their polite appetizer portions.
Last summer my niece asked if we could have a tea party with grilled cheese instead of cucumber sandwiches. These became the star of the afternoon, with the little ones arguing over who got the corner pieces with the most cheese bubbling out the sides.
Ingredients
- Hawaiian sweet rolls: Their natural sweetness balances sharp cheddar perfectly, creating that restaurant-style flavor people assume must be more complicated
- Cheddar cheese: Slice it yourself rather than buying pre-sliced for better melt and distribution
- Unsalted butter: Melted and brushed on top, this creates the golden crunch that makes them impossible to stop eating
- Dijon mustard: The secret tangy layer that cuts through all the richness
- Garlic powder and parsley: Transform these from good to cant-stop-eating-them with minimal effort
Instructions
- Prep your oven station:
- Preheat to 350°F and line that baking sheet with parchment now because melted cheese cleanup is nobody's idea of fun after a party
- Master the horizontal slice:
- Keep those rolls connected in their block shape, then use a serrated knife to slice through the entire package at once like you're creating a giant sandwich
- Add your secret flavor layer:
- Whisk Dijon and mayo together and spread it on both cut sides, letting it soak in slightly while you prep everything else
- Build the cheese mountain:
- Pile that cheddar over the bottom half generously, then press the top back down like you're putting a lid on all that melty goodness
- Create the golden crust:
- Brush melted butter over every inch of the top surface, then shower it with garlic powder and parsley for that professional finish
- The foil trick technique:
- Cover loosely with foil for the first 10 minutes to melt everything through, then uncover for the final 5 to get that irresistible golden crunch
- The patience moment:
- Let them rest just 2 minutes before cutting, or that hot cheese will escape everywhere instead of staying inside each perfect little sandwich
 Save
Save These have saved me more than once when unexpected guests showed up and I needed something impressive in under 30 minutes. Something about the sweet and salty combination makes them disappear faster than anything else I serve.
Make Ahead Magic
You can assemble these completely, wrap tightly in foil, and refrigerate up to 24 hours before baking. Just add a couple extra minutes to the covered baking time since they'll be cold from the fridge.
Perfect Pairings
Tomato soup in shot glasses creates the ultimate comfort food combo for parties. I've also served these alongside a simple green salad with vinaigrette to cut the richness.
Creative Variations
The base formula is incredibly forgiving once you understand the technique. Swap the cheese, add protein, or change the seasonings and you have a completely different appetizer that still comes together in minutes.
- Try pepper jack with a sprinkle of everything bagel seasoning for a spicy twist
- Add thin sliced ham or cooked bacon between the cheese layers for extra heartiness
- Mozzarella with Italian seasoning and a side of marinara makes them party pizza bites
 Save
Save These mini sandwiches have become my go-to for everything from game day to rainy Tuesday comfort food nights. Something about them makes people feel instantly at home.
Recipe FAQs
- → Can I prepare these ahead of time?
-
Assemble the rolls up to 24 hours in advance, wrap tightly in plastic, and refrigerate. Brush with melted butter just before baking. Add 2-3 minutes to baking time if baking cold from the refrigerator.
- → What other cheeses work well?
-
Mozzarella creates excellent melting properties, Swiss adds nutty flavor, pepper jack brings mild heat, or try provolone for mild creaminess. Mixing cheddar with mozzarella gives both flavor and superior melt.
- → Do I have to keep the rolls connected?
-
Keeping them connected makes assembly much faster and ensures even baking. Individual rolls require more hands-on time and may brown faster. Slice apart after baking for the easiest approach.
- → Can I add meat inside?
-
Cooked bacon, ham, or turkey slices layer beautifully between the cheese. Pre-cook any raw meat before adding. Place meat on the bottom half, add cheese over top so it melts and holds everything together.
- → Why cover with foil first?
-
Foil traps heat to melt the cheese thoroughly and warm the interior without burning the tops. Removing foil for the last 5 minutes creates that golden, crispy finish everyone loves.
- → What temperature should the oven be?
-
350°F (175°C) provides the right balance - hot enough to melt cheese and brown butter, but gentle enough to prevent burning the sweet rolls before the cheese is fully melted.