 Save
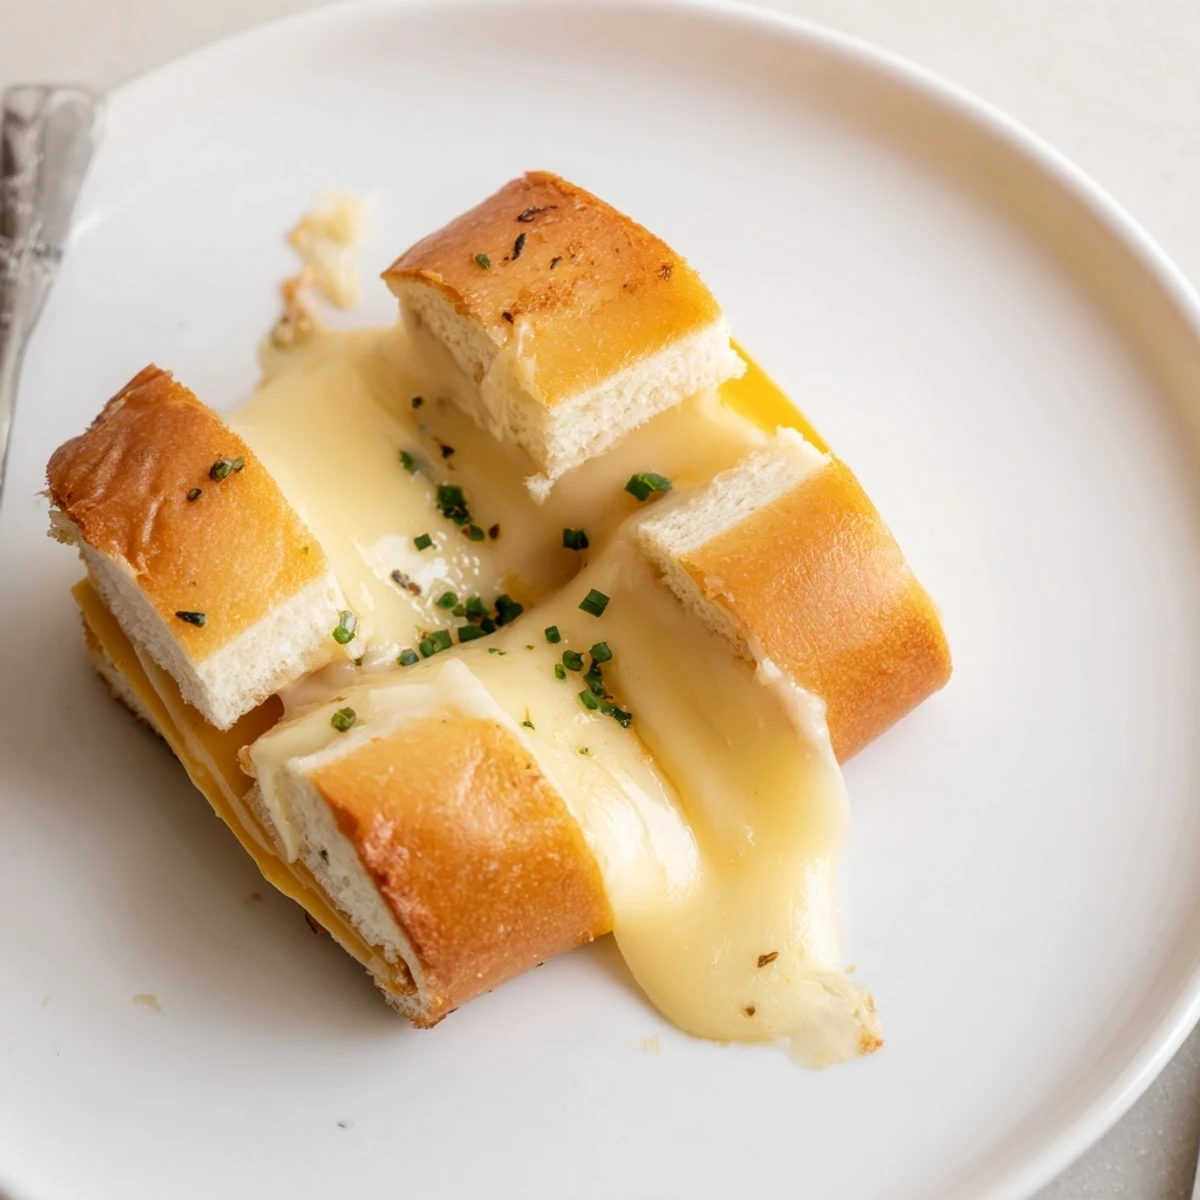
Save Turn a whole pack of soft Hawaiian rolls into 12 pull-apart grilled cheese bites in about 22 minutes. Slice the slab of rolls horizontally, layer cheddar (or mix cheddar and Swiss), spread softened butter on the exterior, then either grill the slab in a skillet 3–4 minutes per side or bake 10–12 minutes until cheese is melted and tops are golden. Cool briefly, pull apart, and finish with a brush of Dijon and a sprinkle of chives. Try pepper jack, tomato slices, or crisp bacon for extra depth.
When I'm hunting for a quick snack that grabs everyone's attention, Hawaiian rolls practically wink at me from the bakery aisle. Their irresistible aroma always makes me smile, reminding me of casual, laughter-filled afternoons when I’d raid the fridge for whatever cheese was on hand. Turning them into tiny grilled cheese sandwiches started as an impulsive experiment, but now it’s my foolproof move for unexpected company. Melty, warm, and sweetly golden, these mini bites never last long enough to cool.
Last fall, I made a batch of these mini grilled cheeses for a quiet movie night with friends—except, as soon as they started sizzling on the skillet, every neighbor seemed to wander in, drawn by that buttery toasted smell. Someone suggested chopped chives, another added a swipe of mustard, and suddenly the platter was empty, the credits rolling, and only a few warm crumbs left as evidence.
Ingredients
- Hawaiian rolls: Their signature sweetness and pillowy texture create bite-sized sandwiches that hold together but stay tender—don’t separate them before slicing, it’s tidier that way.
- Cheddar cheese slices: Cheddar melts into a gooey treat; stacking two varieties (try Swiss too) gives more flavor depth.
- Unsalted butter: Softened butter helps coat every roll surface for irresistible golden crispness, and spreading it evenly prevents dryness.
- Swiss cheese (optional): This brings a melty, nutty contrast if you’re feeling adventurous or your fridge needs clearing out.
- Dijon mustard (optional): Brushing this over the tops after baking wakes up the flavors—start light, taste as you go.
- Chopped chives or parsley (optional): A sprinkle over warm sandwiches adds color and a fresh kick, especially if you want to make them pretty for guests.
Instructions
- Warm things up:
- Preheat your oven to 180°C (350°F) or set a large skillet over medium-low, letting the anticipation build as the kitchen takes on a cozy warmth.
- Prep the rolls:
- Keep the Hawaiian rolls stuck together and gently halve them horizontally, steadying the slab with your palm so the knife slices smoothly.
- Cheese assembly:
- Lay the bottom half on your board and shingle cheddar (and Swiss, if desired) evenly—watch the cheese hang over the sides for melty bite edges—then cap with the top slab.
- Butter coating:
- Slather the softened butter across the outside tops and bottoms, making sure no edge is left bare, as that’s what gives the golden crust.
- Grill or bake:
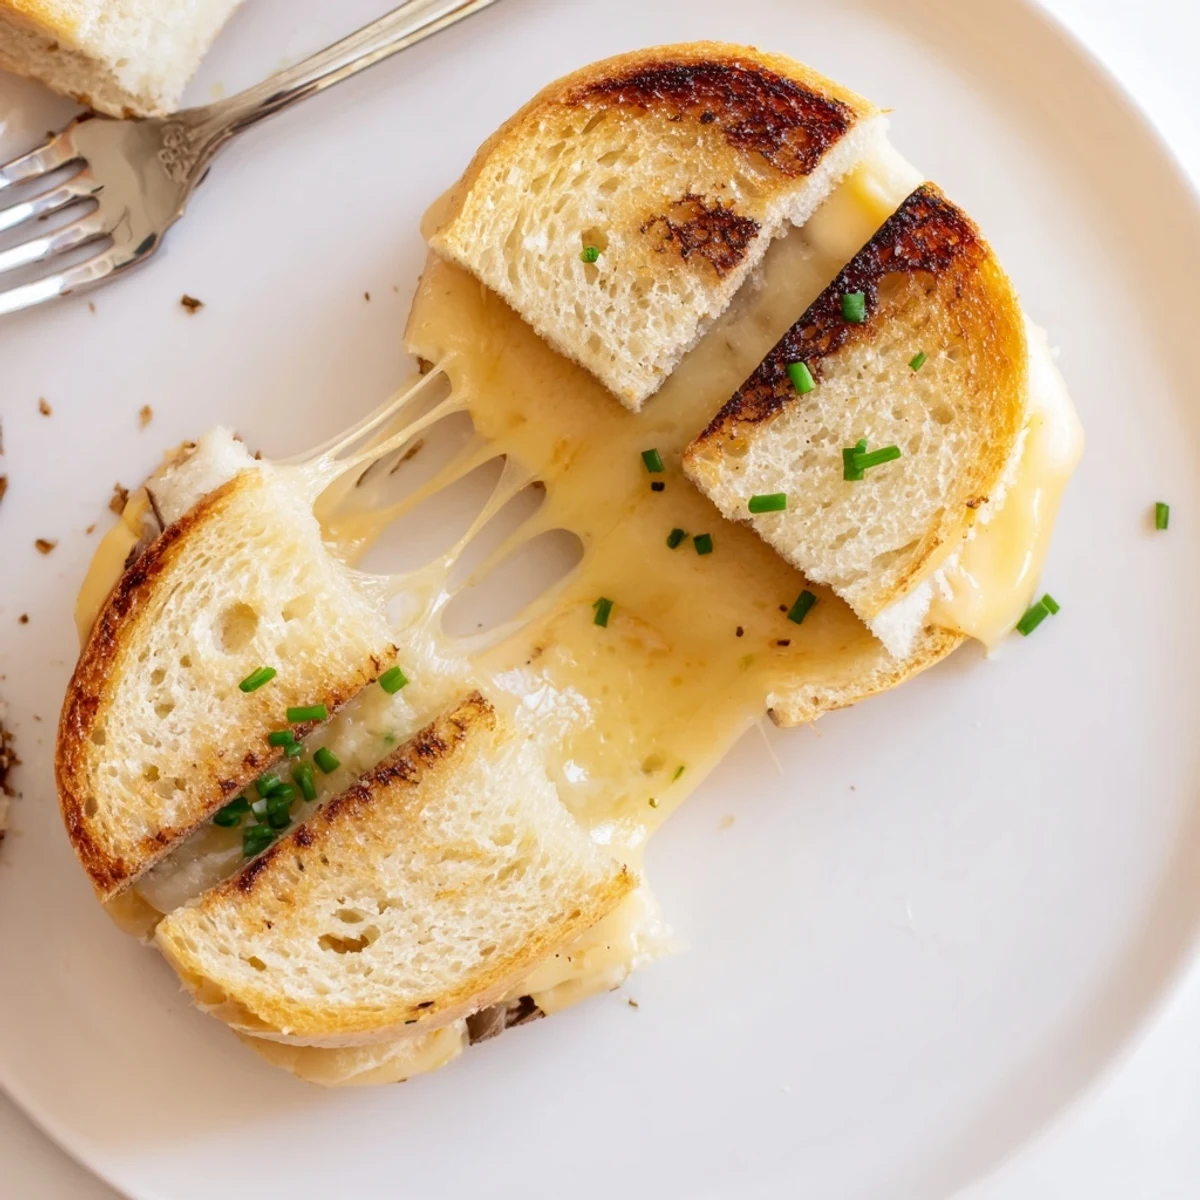
- If using a skillet, grill the whole slab for about 3–4 minutes per side, gently pressing with a spatula and listening for faint sizzling; if using the oven, bake 10–12 minutes until the cheese bubbles and bread looks burnished.
- Divide and conquer:
- Let the slab rest a minute, then cut or pull into 12 mini sandwiches—you’ll hear little crunch-crackle sounds as you pull them apart.
- Finishing touches:
- (Optional) Brush tops with Dijon and dust with chives or parsley; serve while they still steam in the middle.
 Save
Save These tiny sandwiches went from comfort food to celebration central when I brought them to a neighborhood barbecue; hands swooped in before I set the tray down, and several friends asked for the &secret&—now it’s my go-to, even for potlucks with people I’ve only just met.
Secrets of Getting the Perfect Melt
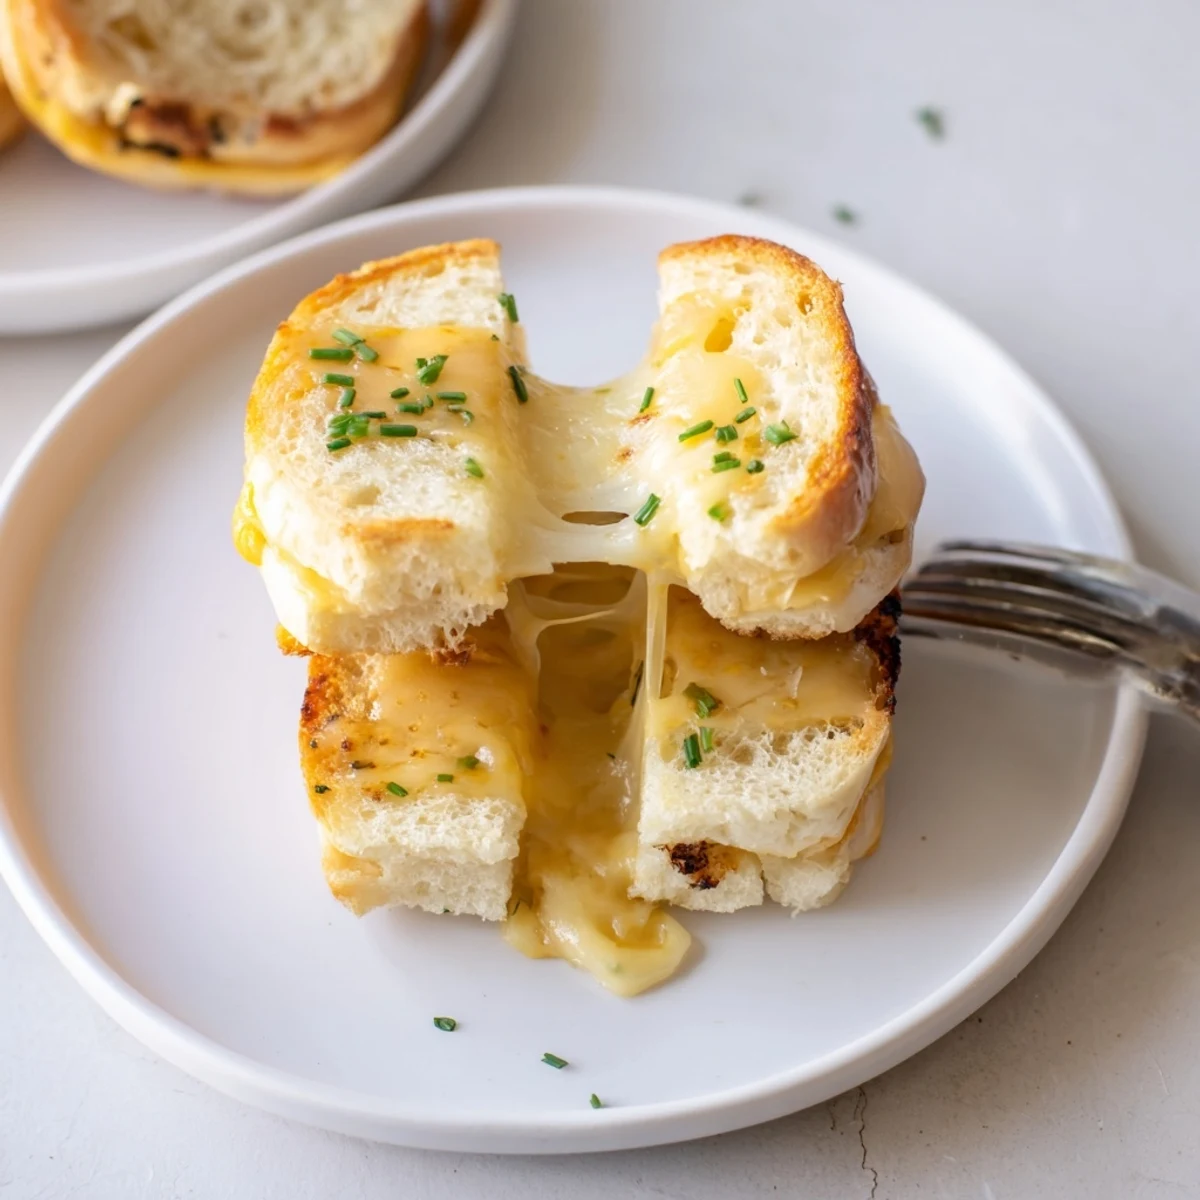
Stacking two cheeses creates a gooier, more luxurious bite, so I always use whatever odd slices I find in the fridge. If you gently press the slab with a spatula while grilling, the filling hugs every corner, but ease up to avoid squishing out the cheese. The difference between a just-melted center and a molten one comes down to closely watching those last two minutes in the oven or skillet.
Making Them Party-Ready Every Time
Chopping fresh herbs at the last minute gives these minis a pop of color and a whiff of garden freshness. At parties, I serve them on a wooden cutting board—their golden edges and green flecks look rustic and tempting. If you want to get fancy, offer mustard and tomato soup in little bowls alongside for dipping.
Swaps and Extras That Never Let Me Down
Tomato slices tucked between cheese, or smoky cooked bacon, can transform these into crowd-grabbing bites. Swapping in pepper jack or mozzarella keeps things lively, and nobody has ever missed the traditional bread for even a moment.
- Add a pinch of flaky salt just before serving.
- Warm leftovers in the oven, not the microwave for best crunch.
- Let everyone pull their own mini—hands-on is half the fun.
 Save
Save However you customize these, they’re the sort of snack that make people linger and swap stories in your kitchen. Enjoy the little moments (and the melted cheese) while they last.
Recipe FAQs
- → Can I bake instead of grilling?
-
Yes. Baking is hands-off: place the buttered roll slab in a baking dish and bake 10–12 minutes at 350°F (180°C) until cheese is melted and the tops are golden. It gives a more even, gentle heat compared with a skillet.
- → What cheeses work best?
-
Cheddar melts nicely and offers sharpness; Swiss adds nuttiness. Pepper jack gives a spicy kick, and mozzarella creates extra stretch. Combining cheeses balances flavor and melt.
- → How do I reheat leftovers?
-
Reheat in a skillet over low heat, covered, for a few minutes until warmed through, or pop them in a 350°F (180°C) oven for 6–8 minutes. Avoid the microwave to keep the exterior from getting soggy.
- → Any quick serving ideas?
-
Serve with warm tomato soup, a tangy mustard dip, or a simple marinara. A sprinkle of chopped chives or parsley and a brush of Dijon brightens the bites.
- → Can I prepare ahead?
-
Assemble the slab up to the buttering step and refrigerate for a few hours. Butter and cook just before serving for the best texture. Fully cooked bites keep 2–3 days refrigerated.
- → Allergen considerations?
-
Contains wheat and dairy; some rolls may include eggs. If using flavored additions, check labels for other allergens and select suitable swaps for dietary needs.