 Save
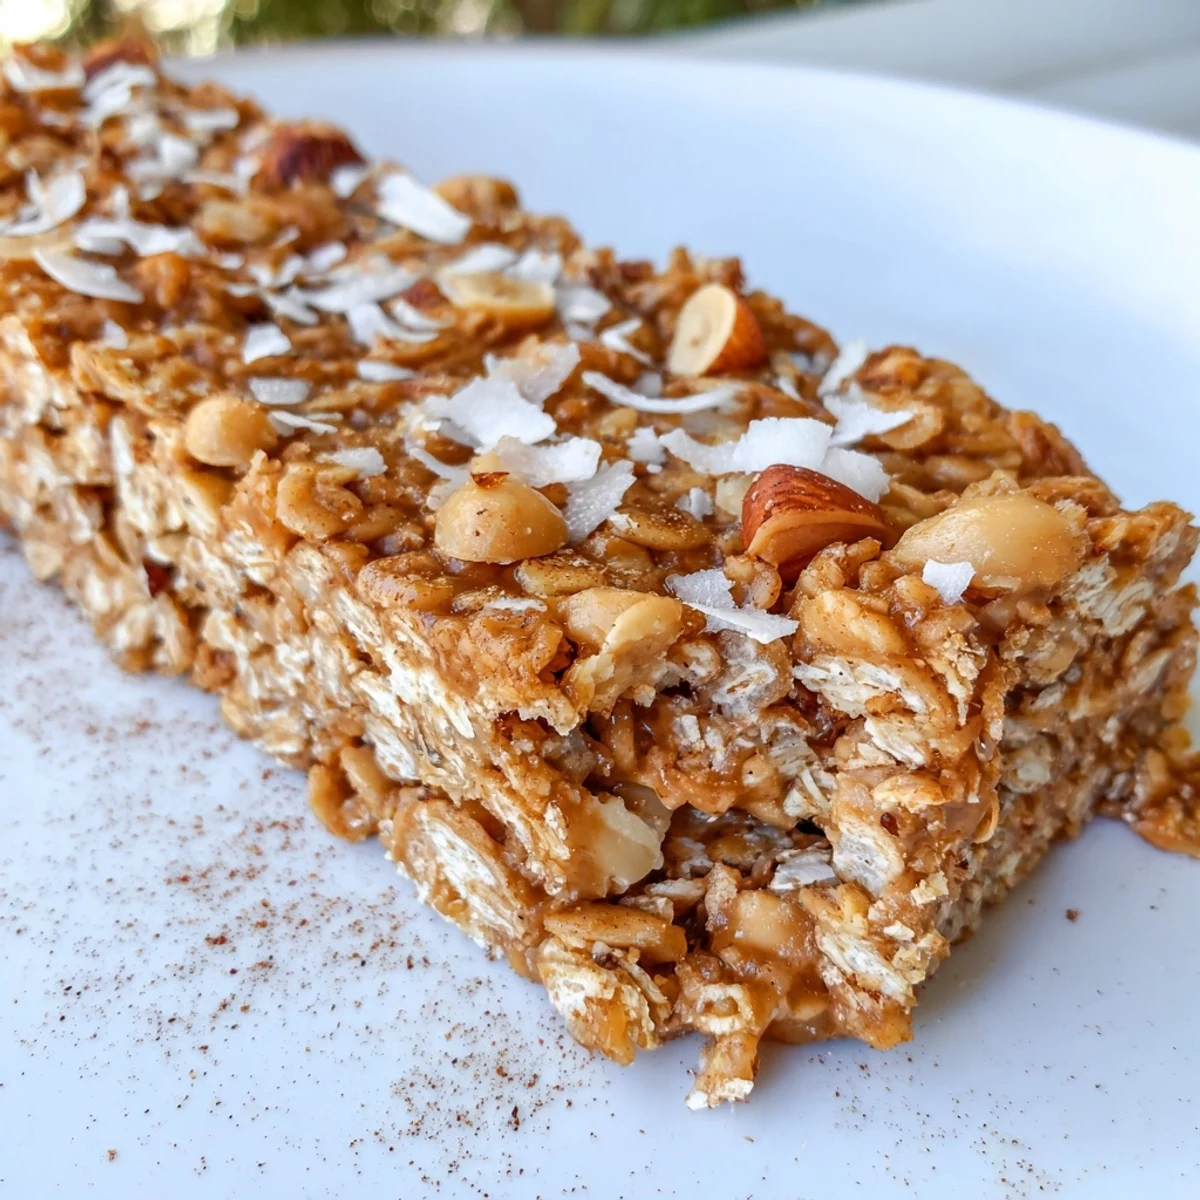
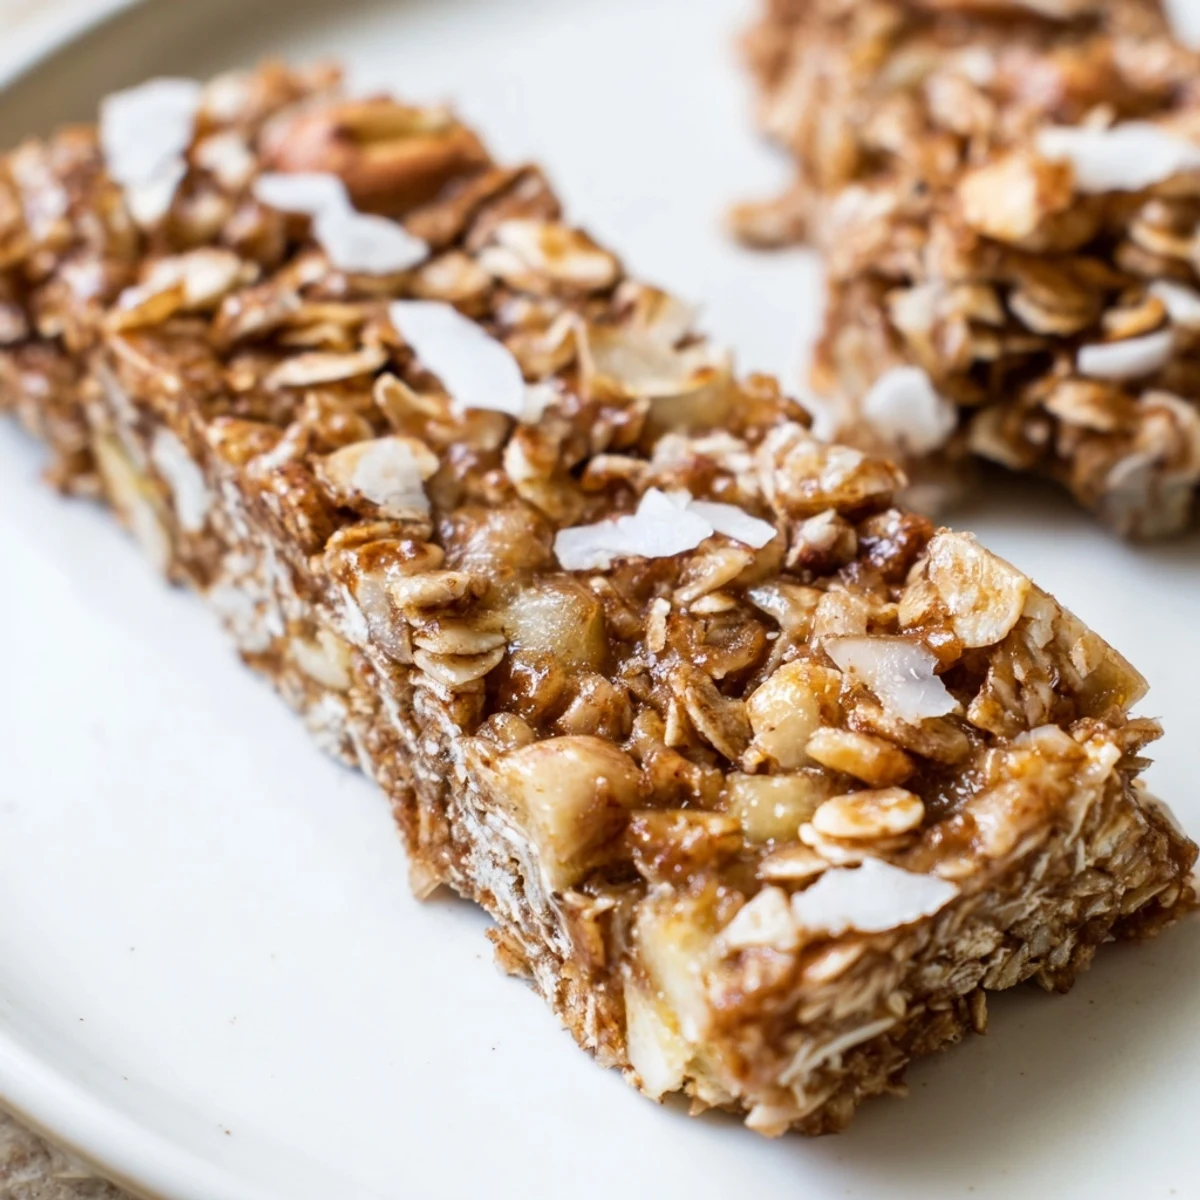
Save These soft, chewy granola bars combine old-fashioned rolled oats, crispy rice cereal, and sweet dried apple with rich creamy peanut butter for the perfect wholesome snack. The honey-sweetened binding mixture coats every ingredient evenly, creating bars that hold together beautifully while maintaining that irresistible chewy texture. A hint of cinnamon warm spices enhances the natural fruit sweetness.
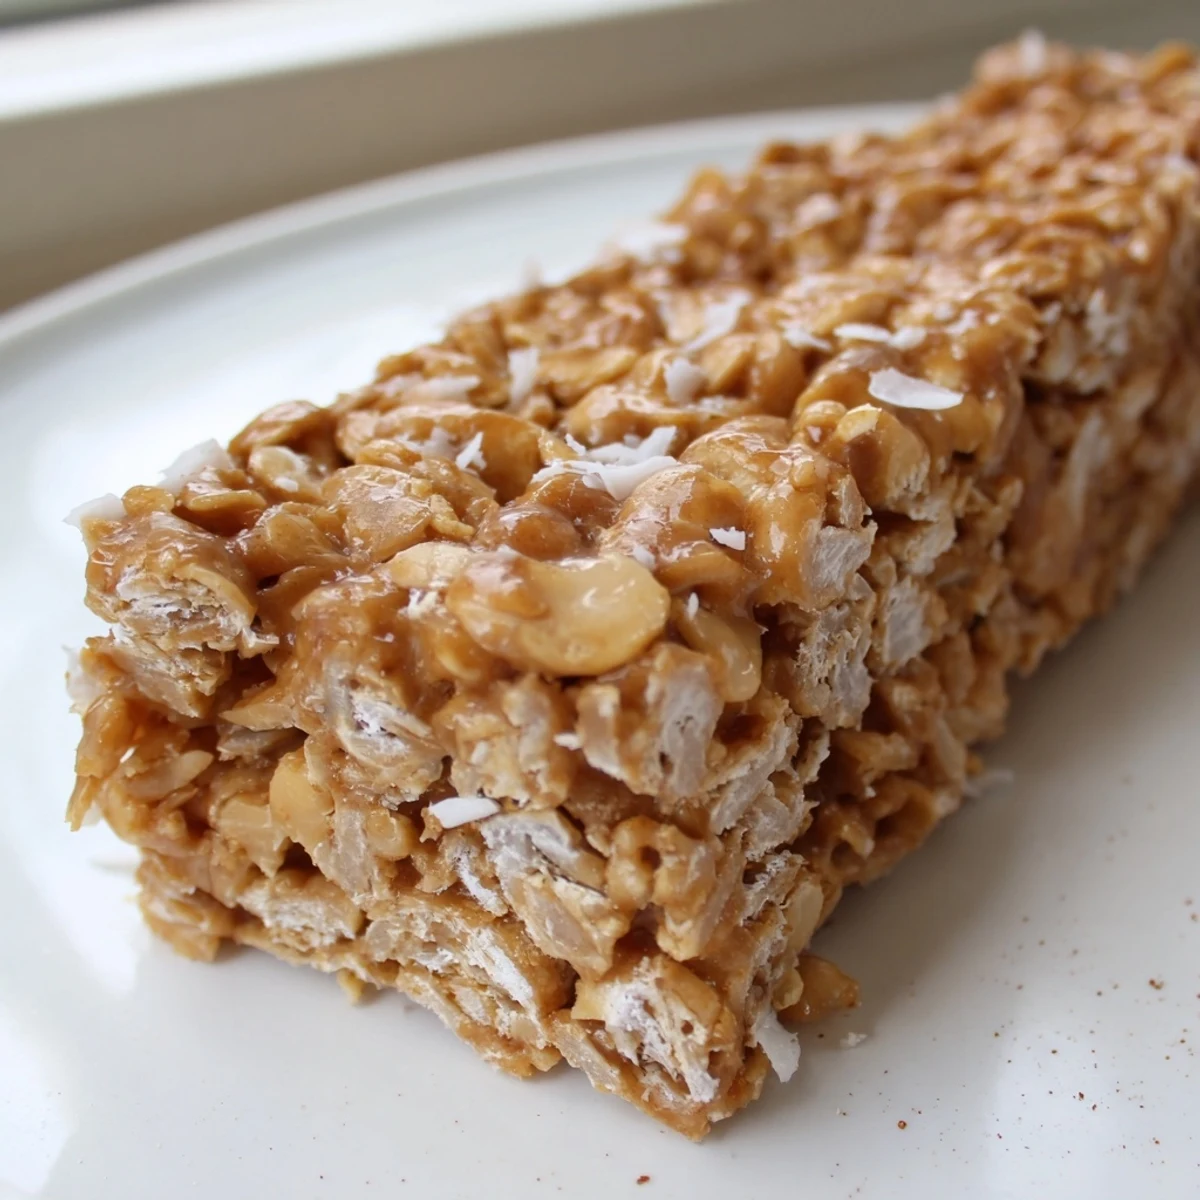
What makes these bars exceptional is their simplicity—no oven required, just mix, press firmly into your pan, and chill until firm. The combination of textures creates satisfying bites: crisp rice cereal adds crunch, shredded coconut brings subtle sweetness, and chopped peanuts offer nutty depth. Perfect for meal prep, lunchboxes, or afternoon snacking, these bars stay fresh in the refrigerator for up to a week.
The first time I made these, I was halfway through pressing the mixture into the pan when my roommate walked in and immediately started hovering. She took one sniff of the cinnamon and apple and literally leaned over my shoulder watching, then proceeded to eat three of them straight from the pan before they were even fully set.
I brought a batch to my sisters house last fall and her kids, who normally turn their noses up at anything that looks remotely healthy, devoured them. My nephew asked if I could bring the apple ones instead of cookies for his class treat day.
Ingredients
- 2 cups old-fashioned rolled oats: Old-fashioned oats give you that satisfying chewy texture, while instant oats turn everything into mush. Trust me, I learned this the hard way when I accidentally bought quick oats once and ended up with bars that fell apart.
- 1 cup crispy rice cereal: This is the secret to getting those little pockets of crunch throughout each bite.
- 1/2 cup dried apple, finely chopped: Chop these smaller than you think you need to. Big apple chunks create weak spots where the bars want to break apart.
- 1/3 cup unsweetened shredded coconut: Totally optional, but adds such a nice subtle sweetness and texture variation.
- 1/4 cup chopped peanuts: Use salted peanuts if you want that sweet and salty thing going on, which honestly is why these are so addictive.
- 1/2 teaspoon ground cinnamon: Do not skip this. It is what makes these taste like fall instead of just oats and peanut butter.
- 1/4 teaspoon salt: You need salt to balance the honey and bring out all the flavors.
- 1/2 cup natural creamy peanut butter: Use the kind where the oil separates. The processed stuff with added sugar makes these too sweet and oddly gummy.
- 1/3 cup honey: Honey acts as the glue that holds everything together, plus it adds this floral sweetness that pairs so beautifully with apple.
- 2 tablespoons coconut oil, melted: This helps the mixture firm up properly in the fridge. Without it, the bars stay soft and crumbly no matter how long you chill them.
- 1 teaspoon pure vanilla extract: Always use pure vanilla. The fake stuff tastes weird in no bake recipes where the flavor does not get cooked off.
Instructions
- Prepare your pan properly:
- Line an 8x8-inch baking pan with parchment paper, leaving the paper hanging over the edges on two opposite sides. This creates handles that make lifting the whole slab out so much easier later.
- Mix the dry ingredients together:
- In a large bowl, combine the oats, rice cereal, dried apple, shredded coconut if using, chopped peanuts, cinnamon, and salt. Use your hands to break up any clumps of dried apple or coconut so everything gets distributed evenly.
- Warm the wet mixture:
- In a microwave-safe bowl or small saucepan, gently heat the peanut butter, honey, and melted coconut oil until the mixture is smooth and pourable. Remove from heat immediately and stir in the vanilla extract.
- Combine everything:
- Pour the warm peanut butter mixture over the dry ingredients. Stir thoroughly, scraping the bottom of the bowl, until every single piece of oat and cereal is coated in the sticky mixture.
- Press firmly into the pan:
- Transfer the mixture to your prepared pan. Use the back of a spatula or your hands to press it down firmly and evenly. The harder you press here, the better your bars will hold together later.
- Chill until set:
- Refrigerate for at least one hour, but two is even better. The bars need this time to firm up completely.
- Cut into bars:
- Lift the entire slab out of the pan using the parchment paper overhang. Use a sharp knife to cut into 12 even bars. I find it helps to wipe the knife with a damp cloth between cuts if they are sticking.
 Save
Save My mom called me last week asking for the recipe because she had tried one when she visited and could not stop thinking about them. She is notoriously picky about texture and admitted she was skeptical about no bake granola bars, but these won her over completely.
Making Them Nut-Free
My daughters school is nut-free, so I have made these with sunflower seed butter and they work beautifully. The flavor changes a bit, obviously, but the texture and structure remain exactly the same. Just skip the chopped peanuts and maybe add some pumpkin seeds for crunch instead.
Storage And Meal Prep
I usually double this recipe and make them on Sunday for the week ahead. They last perfectly in the fridge for up to a week in an airtight container. I have also frozen them successfully for up to a month, just thaw them in the fridge overnight.
Customizing Your Bars
The base recipe is fantastic, but do not be afraid to make it your own. The possibilities are pretty endless once you understand the ratios.
- Swap the dried apple for dried cherries and add a handful of dark chocolate chips
- Try almond butter instead of peanut butter with dried cranberries and sliced almonds
- Add a tablespoon of cocoa powder to the wet mixture for a chocolate version
 Save
Save There is something so satisfying about making your own granola bars. They taste infinitely better than anything from a box, and knowing exactly what went into them makes each bite feel like a small victory.
Recipe FAQs
- → How long do these bars need to chill before cutting?
-
Chill the bars for at least 1 hour in the refrigerator until firm. This allows the peanut butter mixture to set completely, ensuring clean cuts and bars that hold their shape perfectly.
- → Can I make these bars nut-free?
-
Absolutely. Substitute sunflower seed butter for the peanut butter and omit the chopped peanuts. The texture and binding properties remain similar while accommodating nut allergies.
- → What's the best way to store these granola bars?
-
Store in an airtight container in the refrigerator for up to 1 week. The cold temperature keeps the bars firm and maintains their chewy texture. They can also be frozen for longer storage.
- → Why do I need to press the mixture firmly into the pan?
-
Pressing firmly compacts the ingredients, removing air pockets and ensuring the bars hold together when cut. Use the back of a spatula or clean hands to apply even pressure across the entire pan surface.
- → Can I use quick oats instead of old-fashioned rolled oats?
-
Old-fashioned rolled oats provide better texture and chewiness. Quick oats may make the bars softer and less substantial. For the best results, stick with thick, hearty rolled oats.
- → What can I use instead of honey?
-
Maple syrup works beautifully as a vegan alternative. The binding properties remain similar, though maple syrup adds a slightly different flavor profile. Agave nectar is another option, though it's slightly sweeter.