 Save
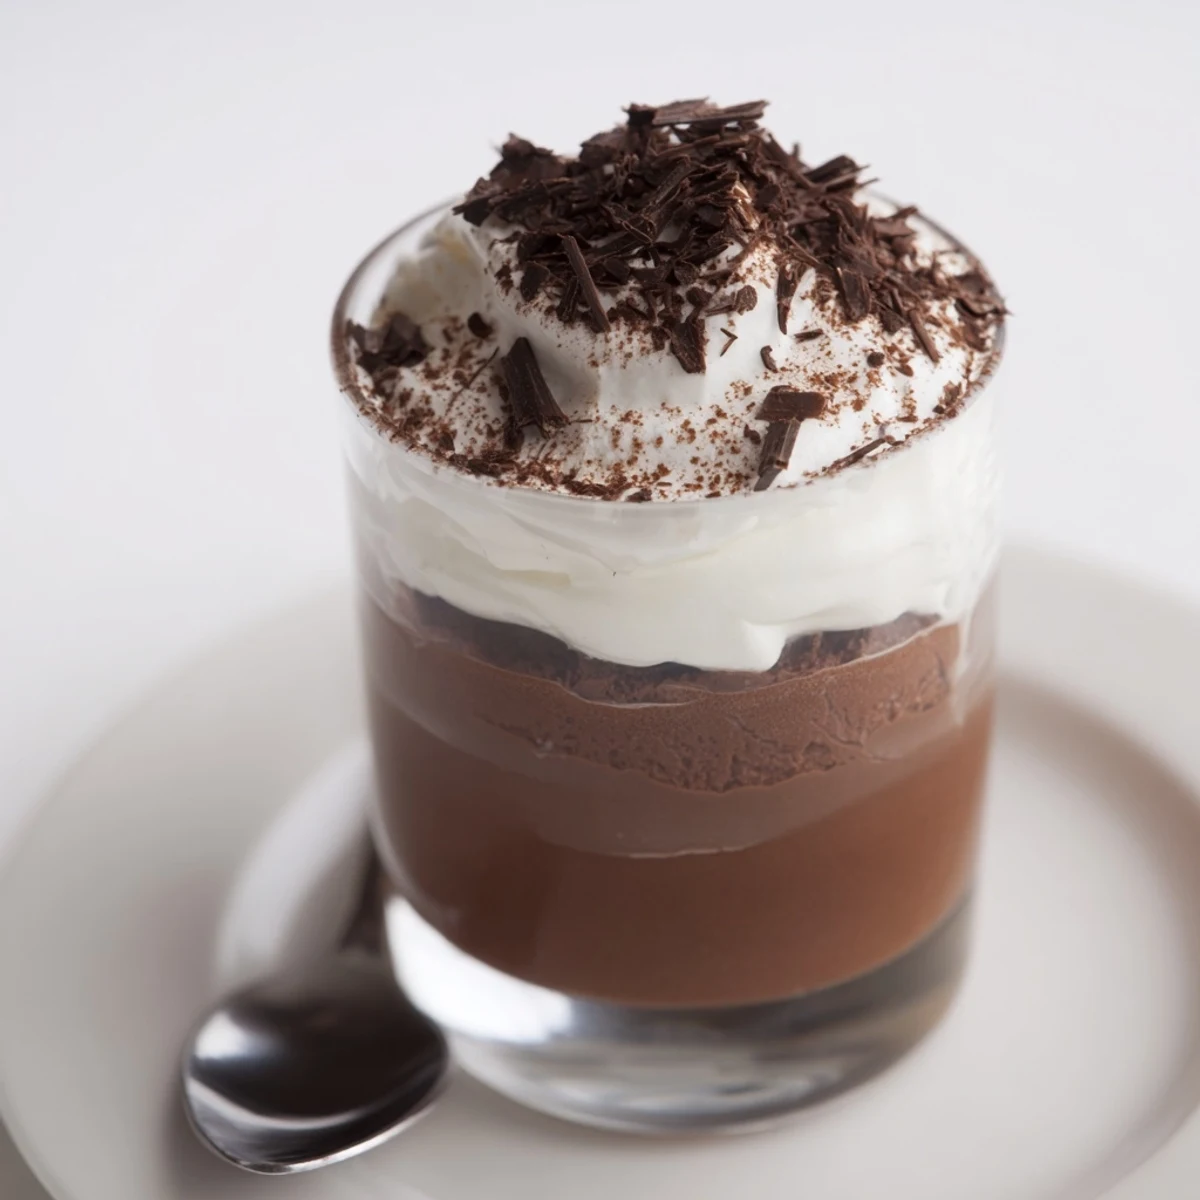
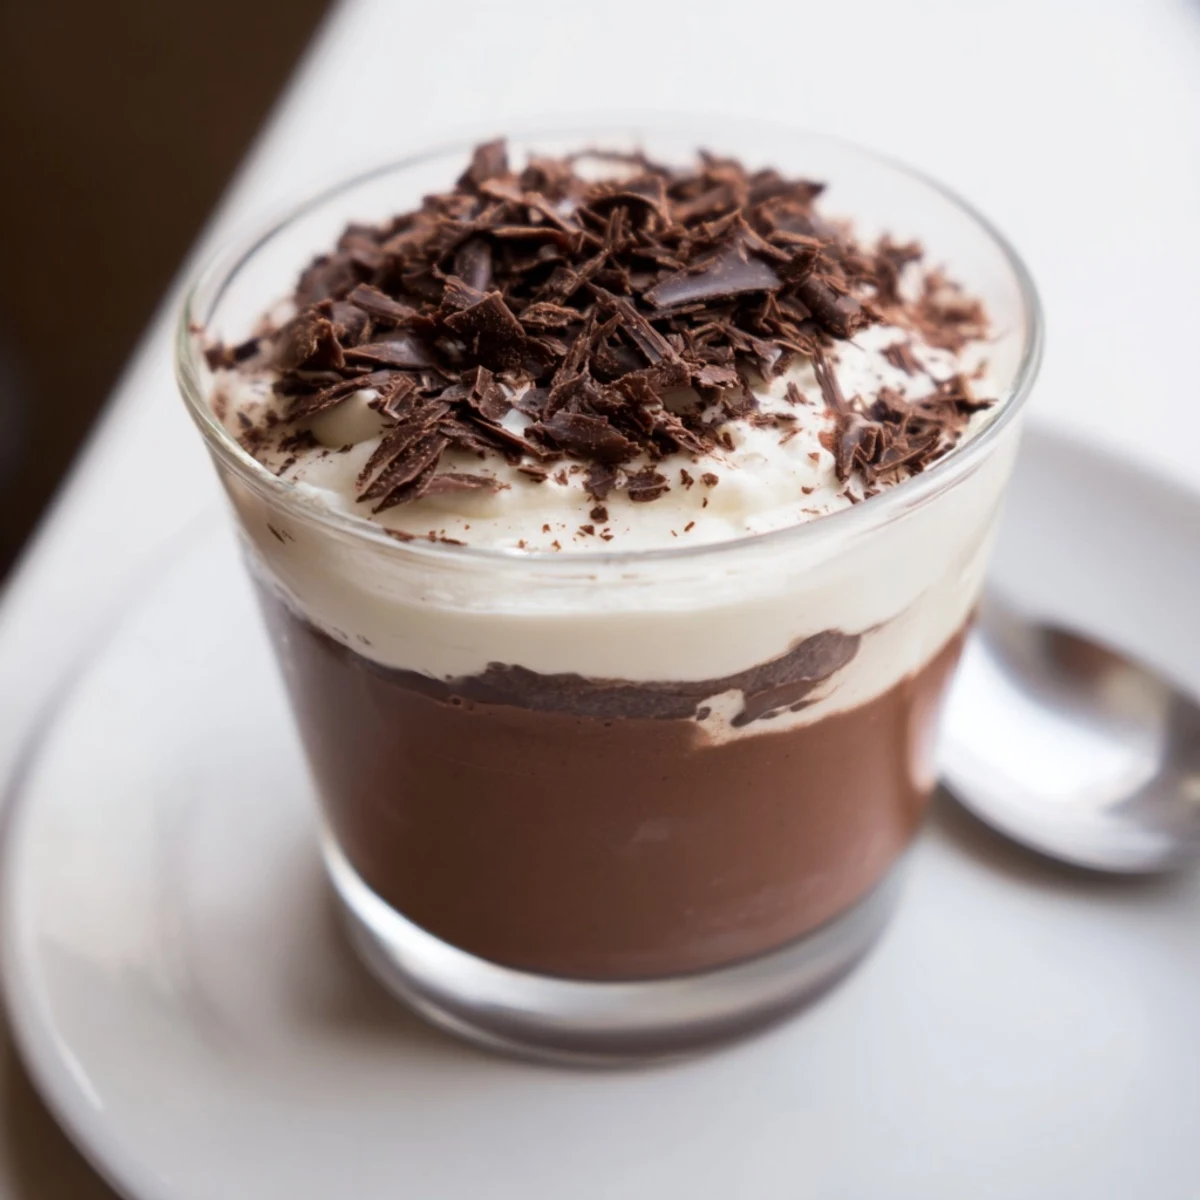
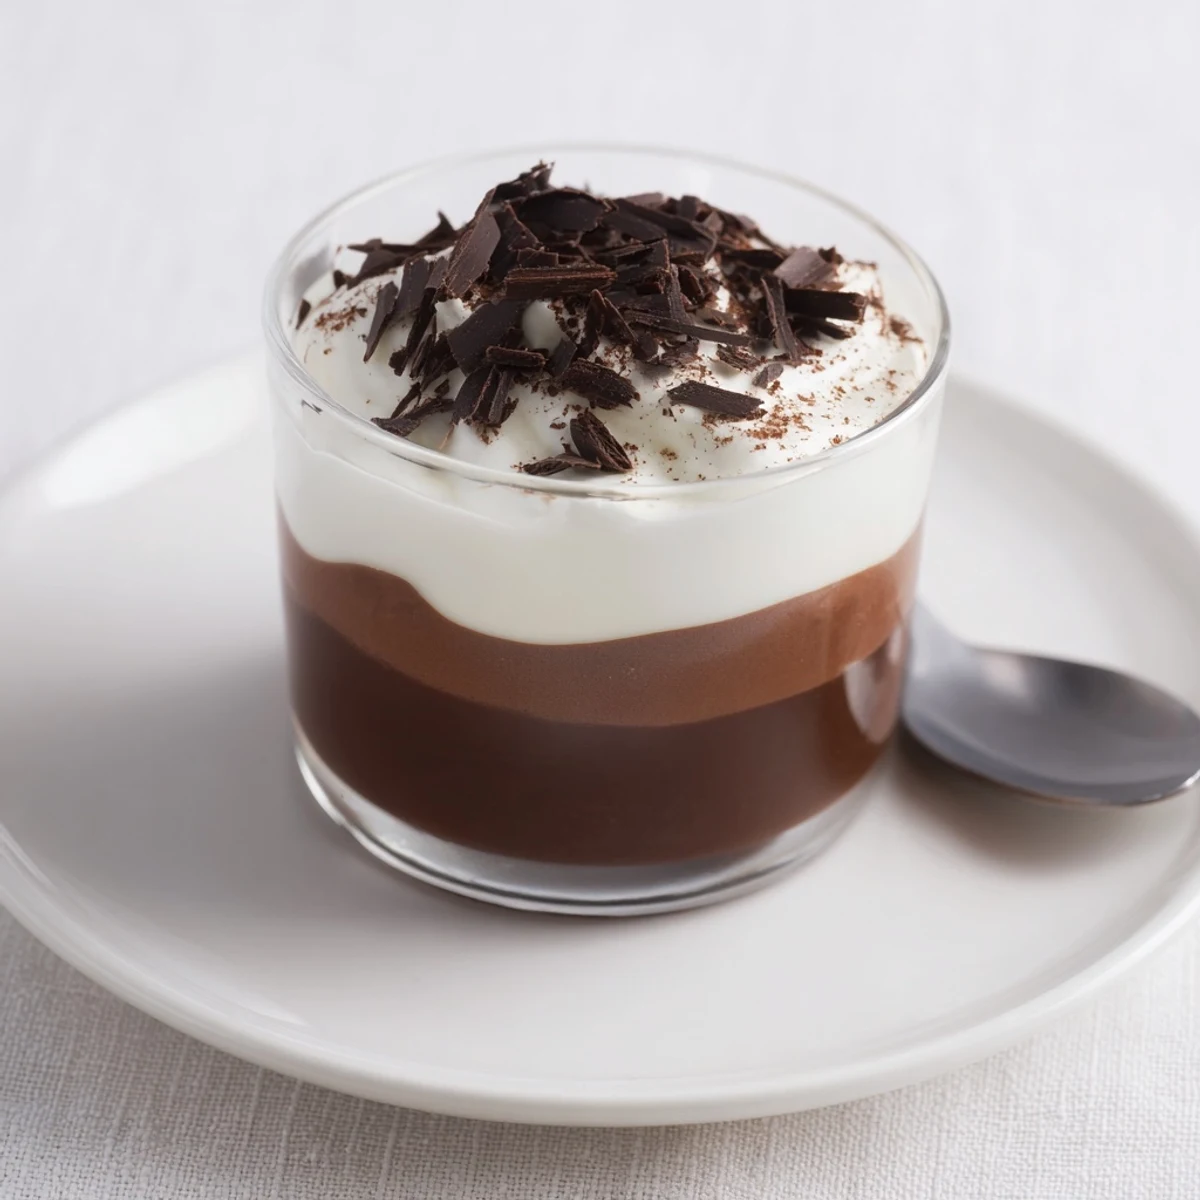
Save Layer three silky mousses—dark, milk and white—into six small cups for an elegant chilled dessert. Each mousse is made by folding melted chocolate into a pale egg-yolk and sugar base, then gently incorporating whipped cream for airy texture. Chill between layers to set, or speed things up by briefly freezing each layer. Finish with shaved chocolate or cocoa and allow at least 1 hour final chilling before serving.
Even though I'd heard about triple chocolate mousse desserts, nothing quite prepared me for the moment I finally made my own at home. That first time, the kitchen was alive with the scent of melted chocolate swirling through the air, punctuated by the sounds of cream being whipped to those magical, soft peaks. There was a certain hush that fell over the room as the layers began to take shape in their glass cups, each one a little promise of luxury. Who knew that a bit of patience and three types of chocolate could amount to such an indulgent showstopper?
Somewhere between whipping the final batch of cream and scraping the last bit of melted chocolate from my bowl, I caught my partner sneak a fingerful from a cup in the fridge, still unfinished and unset. Their delighted sigh told me everything I needed to know. It's impossible not to share a smile when you're building these chocolatey layers together, each step just another excuse for a taste test or a laugh about chocolate-streaked hands.
Ingredients
- Dark chocolate (100 g, minimum 60% cocoa): The higher cocoa content deepens the chocolate flavor and balances the sweetness of other layers; always chop it finely so it melts smoothly without clumping.
- Egg yolk (1 per mousse layer): This enriches the mousse and gives each layer a velvety texture; let the yolk come to room temperature to avoid seizing your chocolate.
- Sugar (1 1½ tbsp per layer): Just enough to sweeten while letting the true flavors of each chocolate type shine through; if you ever under whip the sugar with the egg, the mousse won't set as beautifully.
- Heavy cream (100 ml per layer, cold): Whipping the cream cold helps maintain those essential soft peaks and keeps each mousse light yet sturdy.
- Milk chocolate (100 g), chopped: A creamier and slightly sweeter middle layer that mellows the intensity of the dark chocolate; choose a quality bar rather than chips for the best melt.
- White chocolate (100 g), chopped: This adds a gentle, almost caramelly top layer that perfectly finishes the trio, but it melts faster and burns easily, so treat it tenderly.
- Shaved chocolate or cocoa powder for garnish (optional): A playful finishing touch that signals which flavor hides just beneath the surface, plus it hides any little imperfections in your layers.
Instructions
- Start with the dark chocolate:
- Melt the dark chocolate slowly over a bain-marie or in carefully timed bursts in the microwave, stirring until glossy and completely smooth. Let it cool for a few minutes so it doesn’t scramble the egg yolk when mixed.
- Blend the yolk and sugar:
- Whisk the egg yolk and sugar together vigorously in a separate bowl until the mixture turns pale and thick—this is where the mousse gets its signature richness.
- Combine the base:
- Pour the slightly cooled chocolate into the egg mixture and fold together gently until no streaks remain; inhaling the aroma is an act of self-care at this point.
- Whip the cream just right:
- With cold heavy cream and clean whisks, beat until soft peaks form—stop as soon as it holds gentle swirls, or risk turning it grainy.
- Bring it all together:
- Fold the whipped cream into the chocolate base with a spatula, lightening the mixture as you go, then spoon it evenly between your serving cups as the first perfectly dark layer.
- Repeat for milk chocolate:
- Follow all the same steps with the milk chocolate ingredients and, once ready, gently layer it on top of the dark chocolate using the back of a spoon to keep layers neat.
- Finish with white chocolate:
- Work carefully with the white chocolate, which melts and sets quickly, and either spoon or pipe this final cloud-like layer over the milk chocolate one.
- Chill and admire:
- Refrigerate the assembled cups for at least 1 hour, allowing each layer to fully set and flavors to mingle and deepen.
- Decorate just before serving:
- Right before bringing them to the table, top each cup with a dusting of cocoa powder or scattered chocolate shavings for a bit of drama and a wink of crunch.
 Save
Save It was at a small dinner party when someone swooned over their first spoonful that I realized these triple chocolate mousse cups had become more than a dessert—they sparked conversation, memories, and a table-wide silence as everyone savored each blissful bite.
Make-Ahead Magic for Busy Schedules
I learned that assembling these cups the night before transforms dessert time the next day into the easiest, most impressive event. The extra hours in the fridge actually enhance the silkiness and depth of each layer, plus it frees you up to enjoy your guests (and sneak a test spoonful, obviously).
Customizing Your Chocolate Adventure
Playing with different chocolates — mixing in a hint of orange zest to the white chocolate or a splash of coffee liqueur to the dark—lets you suit this treat to the mood or the crowd. You can even swap the order of layers for fun, though purists would surely look away if you began with white chocolate at the bottom.
What to Do If Your Mousse Goes Sideways
Not every mousse attempt has been picture perfect—I once overwhipped the cream and had to start that layer over, but the result was worth the do-over. If your chocolate seizes, add a tablespoon of hot cream and whisk gently to bring it back to glossiness. Even if layers aren’t runway ready, seconds always disappear just as quickly.
- Work in a cool kitchen if possible to keep the whipped cream airy.
- A piping bag makes the white chocolate layer especially neat.
- Taste as you go—quality chocolate is its own reward.
 Save
Save By the time these cups hit the table, they’ve already created memories. Here’s to chocolate, a steady hand, and plenty of grateful smiles around the table.
Recipe FAQs
- → How do I prevent grainy mousse when melting chocolate?
-
Melt chocolate slowly over a bain-marie or in short microwave bursts, stirring frequently. Avoid overheating and add chocolate to a slightly cooled egg-sugar base to maintain a smooth, glossy texture.
- → Can I speed up the setting between layers?
-
Yes. Chill each cup in the freezer for 25–30 minutes between layers to speed setting, then transfer to the refrigerator for the final chill to avoid over-freezing the cream.
- → Is it safe to use raw egg yolks in the mousse?
-
Use very fresh, refrigerated eggs and consume the dessert promptly. For added safety, use pasteurized eggs or gently temper the yolk mixture with warm melted chocolate before combining.
- → What chocolate should I choose for best flavor?
-
Pick good-quality chocolate: at least 60% cocoa for the dark layer, a creamy milk chocolate for the middle, and a sweet white chocolate for contrast. Higher-quality bars give smoother melt and cleaner flavor.
- → How can I adjust sweetness and texture?
-
Reduce sugar slightly in any layer if you prefer less sweetness. For lighter texture, whip the cream to soft peaks and fold gently to retain air; overmixing will deflate the mousse.
- → Any garnish ideas beyond shaved chocolate?
-
Try a dusting of cocoa powder on the dark layer, a few cocoa nibs for crunch, or a thin curl of white chocolate on top of each cup for a refined look.