Save
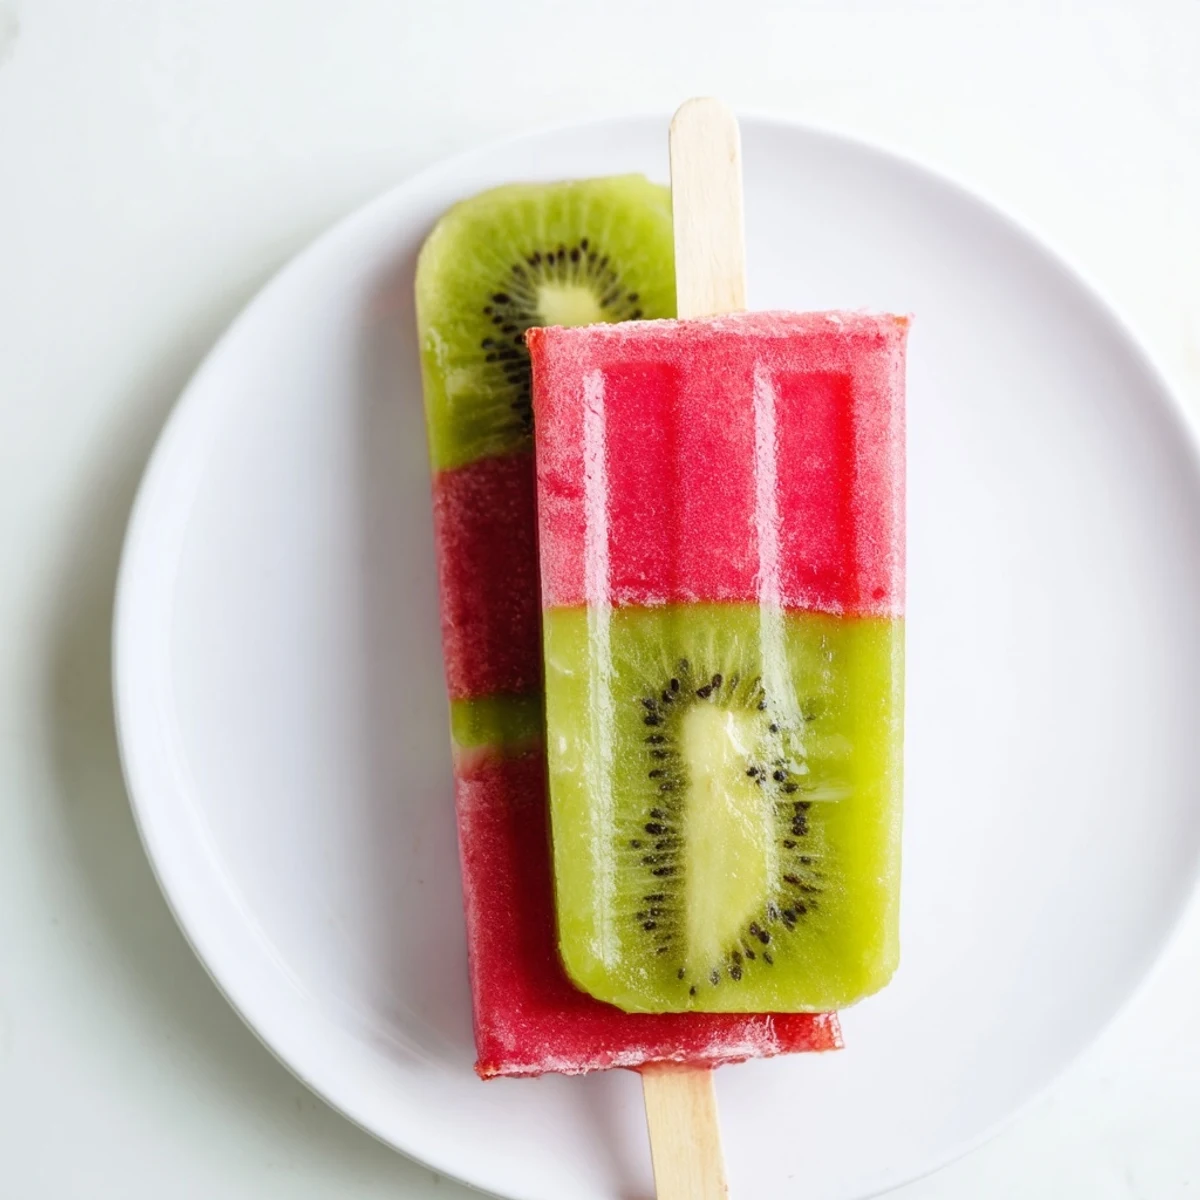
Save Create stunning two-layer frozen treats featuring refreshing watermelon and tangy kiwi. These naturally sweet popsicles come together in just 20 minutes of active prep time, perfect for cooling down on hot summer days. The vibrant layers make them visually appealing while the fresh fruit flavors offer a healthy alternative to store-bought frozen desserts. Simply blend each fruit layer separately, freeze in stages, and enjoy these colorful treats that both kids and adults love.
The afternoon sun was beating through the kitchen window so fiercely that even the dog had given up and sprawled across the tile floor when I started chopping watermelon with no real plan beyond staying cool. Frozen fruit pops seemed almost too simple to bother with, but sometimes the simplest things turn out to be the ones everyone fights over. The green and red layers looked almost fluorescent against the light, like something between a treat and a science experiment. By the time they froze solid, my niece had already asked four times if they were ready.
I brought a batch of these to a backyard barbecue last August and watched a table full of adults quietly choose them over the brownies, which told me everything I needed to know.
Ingredients
- Seedless watermelon (3 cups cubed): The sweeter and riper your watermelon, the less added sweetener you will need, so taste before blending.
- Ripe kiwis (3, peeled and sliced): Look for kiwis that yield slightly when pressed because firm ones will taste tart and lack that mellow sweetness.
- Fresh lime juice (3 tablespoons total): This brightens both layers and keeps the fruit flavors from tasting flat after freezing.
- Agave syrup or honey (optional): Start with one tablespoon per layer, taste, and add more only if the fruit is not sweet enough on its own.
Instructions
- Blend the watermelon layer:
- Toss the cubed watermelon, two tablespoons of lime juice, and sweetener if using into the blender and purée until completely smooth, about thirty seconds.
- Fill the molds partway:
- Pour the watermelon purée into each popsicle mold, stopping at roughly two thirds full, then tap the molds on the counter a few times to knock out trapped air bubbles.
- Give the first layer a head start:
- Place the molds in the freezer for about one hour until the surface feels firm to the touch but not rock solid, which helps the kiwi layer sit on top instead of mixing through.
- Blend the kiwi layer:
- While the watermelon sets, purée the sliced kiwi with one tablespoon of lime juice and sweetener until smooth, scraping down the sides once to catch any chunks.
- Build the second layer:
- Remove the molds from the freezer and carefully pour the kiwi purée on top of the watermelon layer, filling nearly to the rim, then insert the popsicle sticks straight into the center.
- Freeze until solid:
- Return the molds to the freezer for at least three hours or preferably overnight so the pops hold their shape when unmolded.
- Release with warmth:
- Run the outside of each mold under warm water for a few seconds, then gently wiggle and pull the pop free without twisting too hard.
 Save
Save Standing in that steamy kitchen watching two colors freeze into something beautiful, I realized this was the kind of recipe that makes you feel clever without actually having to be clever.
Getting the Layers Right
The one hour partial freeze is the entire trick here, and it is worth setting a timer because if you wait too long the layers will not bond and if you rush it they bleed together.
Playing With Flavors
Once you understand the two layer method, you can swap in mango, strawberry, or coconut milk for entirely different pops all summer long.
Serving and Storing
These pops melt fast in the heat so serve them straight from the freezer and keep any extras wrapped individually in parchment paper inside a freezer bag.
- A few torn mint leaves blended into the watermelon layer add a surprising freshness.
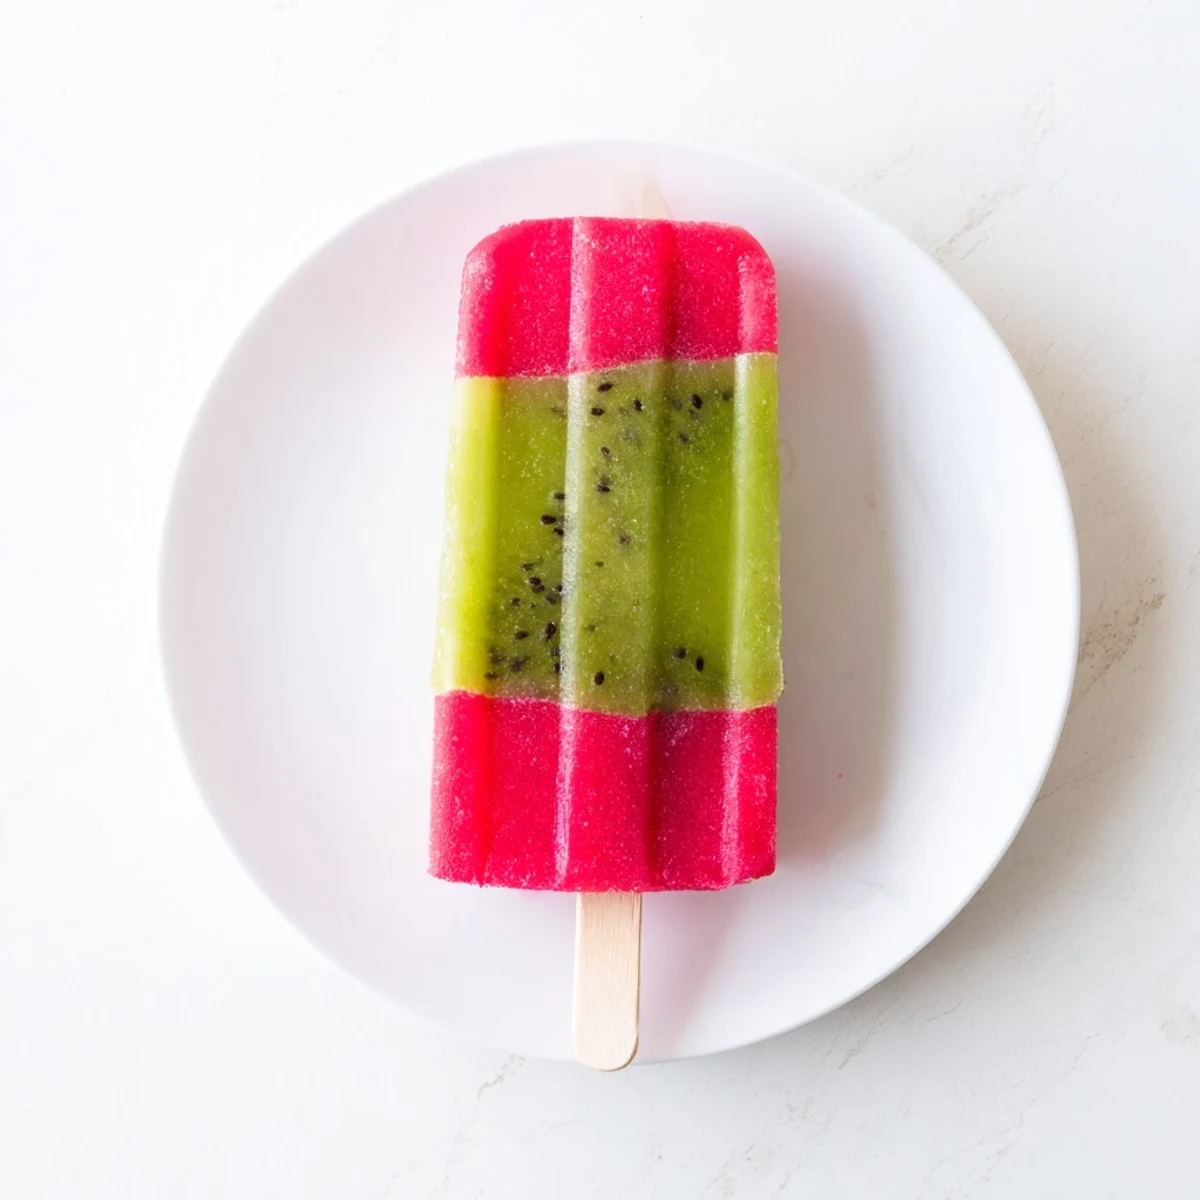
- Thin kiwi slices pressed against the inside walls of each mold create a gorgeous visible fruit pattern.
- Always taste your fruit before adding sweetener because a truly ripe watermelon often needs nothing extra.
 Save
Save Some recipes earn their place in your rotation through complexity, but these pops prove that summer cooking is really about stepping aside and letting the fruit do the talking.
Recipe FAQs
- → How long do these frozen treats last in the freezer?
-
These watermelon kiwi pops will keep well in the freezer for up to 2-3 months when stored in airtight containers or wrapped tightly to prevent freezer burn. For best texture and flavor, enjoy within the first month.
- → Can I use alternative sweeteners?
-
Yes, you can substitute agave syrup with maple syrup, coconut nectar, or your preferred liquid sweetener. For a sugar-free version, simply omit the sweetener entirely—the ripe watermelon and kiwi provide natural sweetness.
- → What if I don't have popsicle molds?
-
You can use small paper cups, silicone molds, or even ice cube trays for bite-sized versions. Place your sticks in the center during freezing time. If using paper cups, simply peel away the paper before serving.
- → Can I make these with other fruit combinations?
-
Absolutely! Try strawberry-mango, peach-raspberry, or pineapple-coconut layers. The key is choosing fruits with similar textures and vibrant colors. Ensure each layer is puréed smooth and freeze partially between layers for clean separation.
- → How do I prevent air bubbles in my frozen treats?
-
After pouring each fruit layer into the molds, tap them gently on the counter several times to release trapped air. You can also use a skewer or toothpick to gently stir and break up any bubbles before freezing.