 Save
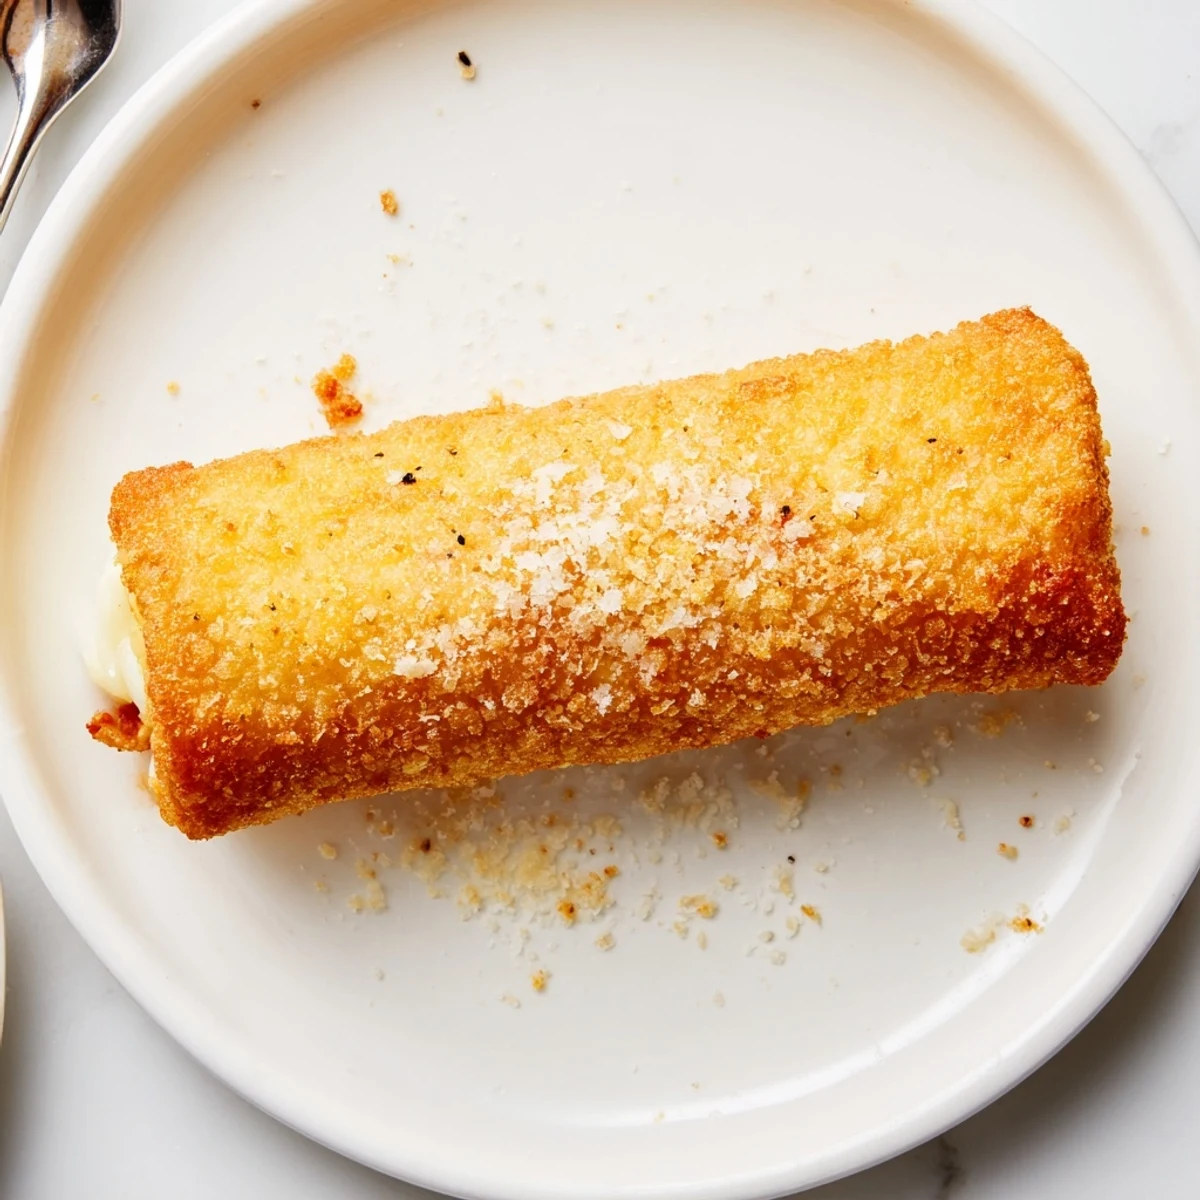
Save Flatten sandwich bread, place a cheese stick at the edge, roll tightly and seal with melted butter. Brush outsides with butter, sprinkle a Parmesan-herb mix, and bake at 400°F until golden and crisp, or pan-fry until evenly browned. Serve warm with marinara or preferred dip. Variations: add deli ham, roll in panko for extra crunch.
The sizzle of butter hitting a hot pan and the scent of melting cheese always signal something wonderful in my kitchen. One particularly stormy afternoon, my craving for comfort led to these crispy cheesy roll ups—the rain outside made each warm, golden bite taste even sweeter. There’s a certain quiet joy in watching bread transform into a crunchy, cheese-filled snack, especially when the house is sleepy and you’re cooking in thick socks. The best part: you can whip these up faster than it takes to watch your favorite sitcom episode.
Last spring, my cousin stopped by with her little one and, entirely by accident, these roll ups became the highlight of our impromptu picnic in the living room. The toddler’s buttery fingerprints on the rug are gone, but we still laugh about how quick hands snatched the last piece off the plate.
Ingredients
- White sandwich bread: Extra soft bread rolls more smoothly without tearing; press gently to avoid holes.
- Mozzarella or cheddar sticks: Mozzarella will give you that gooey stretch, while cheddar adds tang—cut them to fit the bread if needed.
- Melted butter: Don’t skimp; this is what makes the outside golden and crisp, and it helps the seasonings stick.
- Grated Parmesan cheese: Adds a sneaky hit of umami that elevates the crust.
- Garlic powder: Just a pinch wakes up the flavor and perfumes your kitchen with each batch.
- Dried Italian herbs: Mix of oregano, basil, and thyme is ideal, but use what you have—it builds a pizzeria vibe.
- Salt and pepper: Season lightly, especially if using salted butter or cheese.
Instructions
- Warm up your oven or pan:
- Preheat oven to 400°F (200°C) or put a skillet over medium heat so you’re ready to roll as soon as assembly is done.
- Get your bread prepped:
- Lay bread slices out and gently flatten with a rolling pin until thin and wide—think floppy but not torn.
- Cheese and roll:
- Place a cheese stick near one edge, then roll it up snugly; dab a bit of melted butter along the seam to keep it shut.
- Butter those roll ups:
- Brush butter all over each roll up for a golden finish—don’t forget the ends.
- Herb and Parm topping:
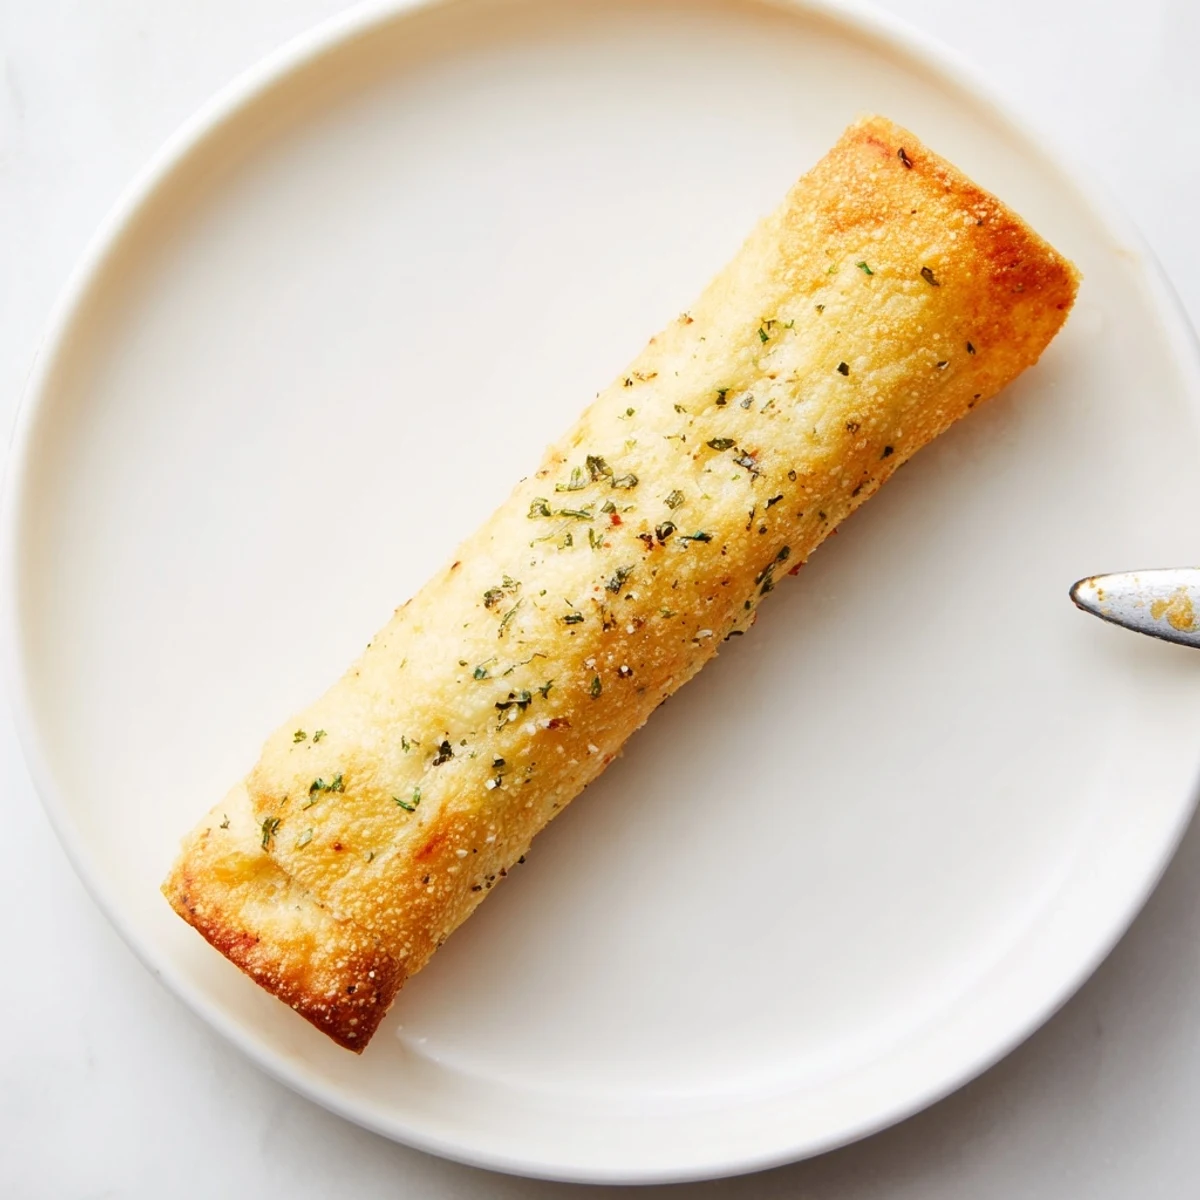
- Mix Parmesan, garlic powder, and herbs together, then sprinkle generously over the buttered rolls so every bite has flavor.
- Ready to bake or fry:
- Arrange seam-side down on a parchment-lined tray for baking, or straight into the hot skillet if you’re pan-frying—just don’t crowd them.
- Crisp until golden:
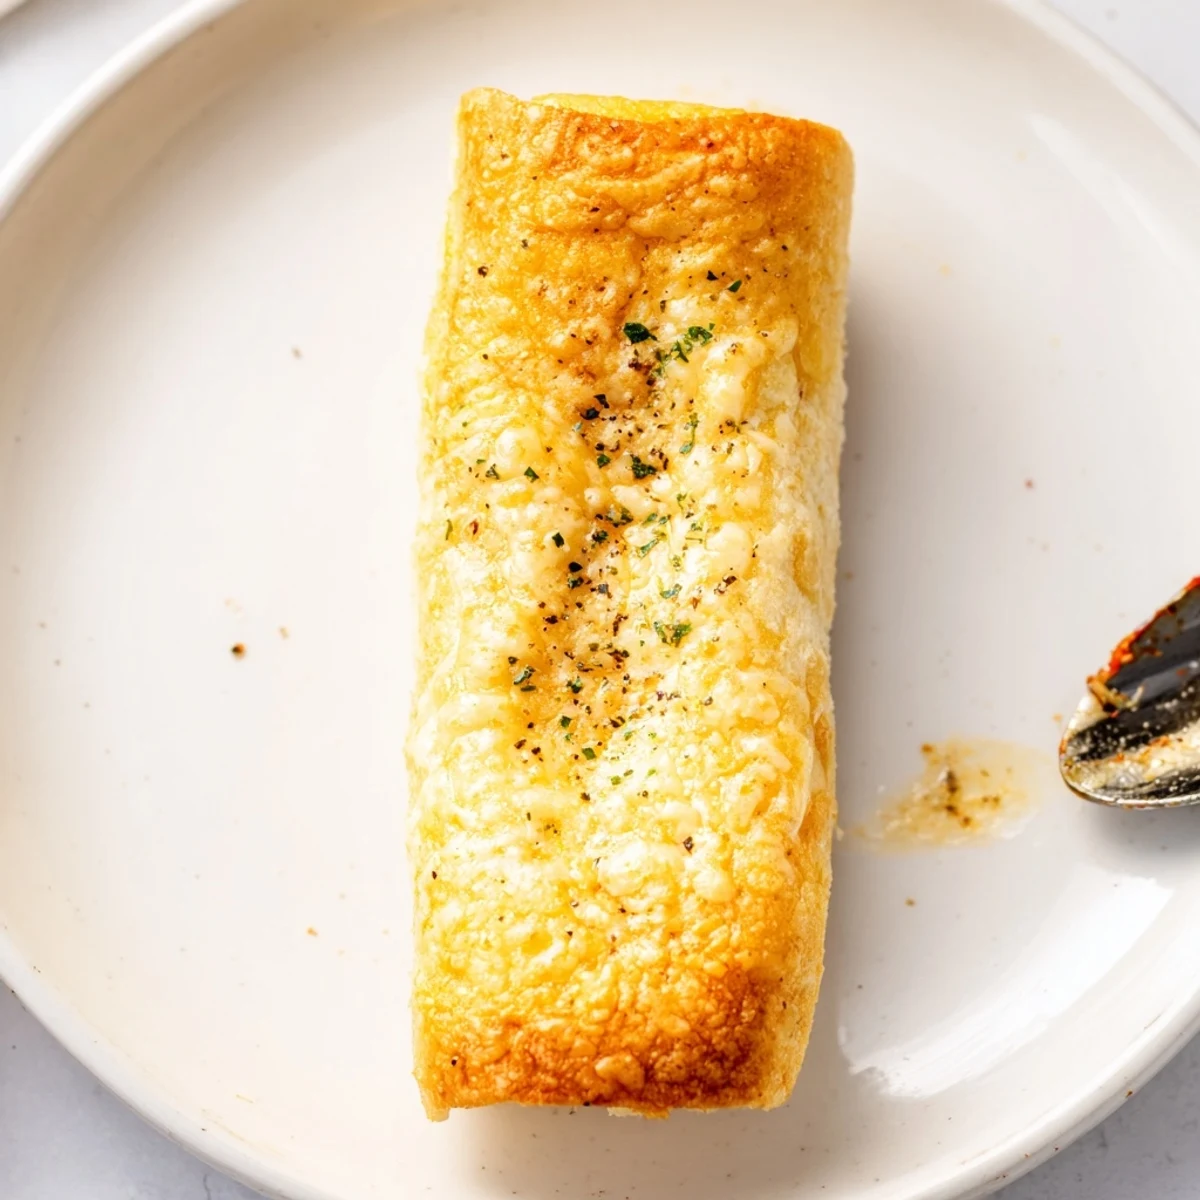
- Bake for 8–10 minutes or pan fry, turning, until every side is crispy and cheese is starting to ooze out.
- Serve and savor:
- These are best hot and dipped, so set out a bowl of marinara or your favorite sauce and enjoy immediately.
 Save
Save Once, during a movie marathon, these roll ups turned my quiet night into a kind of mini celebration—I remember everyone fishing the crispy, golden ends out of the basket and grinning at each other between mouthfuls.
Small Swaps for Big Flavor
Swapping in smoked mozzarella or adding a thin slice of deli ham inside each roll transforms this dish into a whole new experience. I learned that even sprinkling a bit of chili flake inside brings a gentle kick without overwhelming the original cheesy goodness.
Troubleshooting Your Crunch
If your roll ups aren’t as crisp as you’d like, try extending the bake by a minute or two, but watch closely—cheese can go from perfect to puddle in seconds. Pressing the bread thin enough and brushing the outside well with butter are both tiny changes that yield a truly golden crunch.
Make-Ahead and Serving Magic
Assembling these roll ups a few hours in advance and keeping them covered in the fridge saves precious time before guests arrive. They also reheat beautifully in the oven for a few minutes, restoring crispness without drying out.
- Serve them split in half for a party platter—twice the bites, same effort.
- If you’re frying, let roll ups rest seam-side down for a minute before flipping to help seal them.
- Grate a little extra Parmesan over the tray just before serving for irresistible aroma.
 Save
Save These roll ups always disappear before I know it, but making them is just as satisfying as eating them. I hope you enjoy sharing these cheesy bites as much as I have.
Recipe FAQs
- → Can I use different cheeses?
-
Yes. Mozzarella melts best for gooey centers; mild cheddar adds flavor and a slightly firmer bite. For stronger flavor, try smoked provolone or a blend of cheeses, but adjust roll-tightness to prevent leaks.
- → Bake or pan-fry: which yields better texture?
-
Baking gives even, hands-off crispiness across multiple pieces, while pan-frying produces a deeper golden crust on each face. Use baking for batch service and pan-fry for quick, extra-browned edges.
- → How do I prevent soggy bread?
-
Remove crusts and flatten slices to expel trapped air, seal rolls with a bit of melted butter, and preheat the oven or skillet. For extra protection, roll in panko breadcrumbs before cooking.
- → Can these be prepared ahead and stored?
-
Assemble and refrigerate uncovered for up to a few hours before cooking. Cooked roll ups keep in the fridge for 2–3 days; reheat in a hot oven to restore crispness. You can freeze uncooked, wrapped tightly, and cook from frozen with slightly longer baking time.
- → Are there gluten-free or dairy-free options?
-
Use gluten-free sandwich bread to avoid gluten, and swap in a plant-based melting cheese and dairy-free butter for a dairy-free version. Texture will vary; choose brands labeled for good meltability.
- → What are good dipping or serving ideas?
-
Classic marinara pairs well, as do ranch, honey mustard, or pesto aioli. Serve alongside a simple green salad or pickles for contrast at parties or as a snack.