
 Save
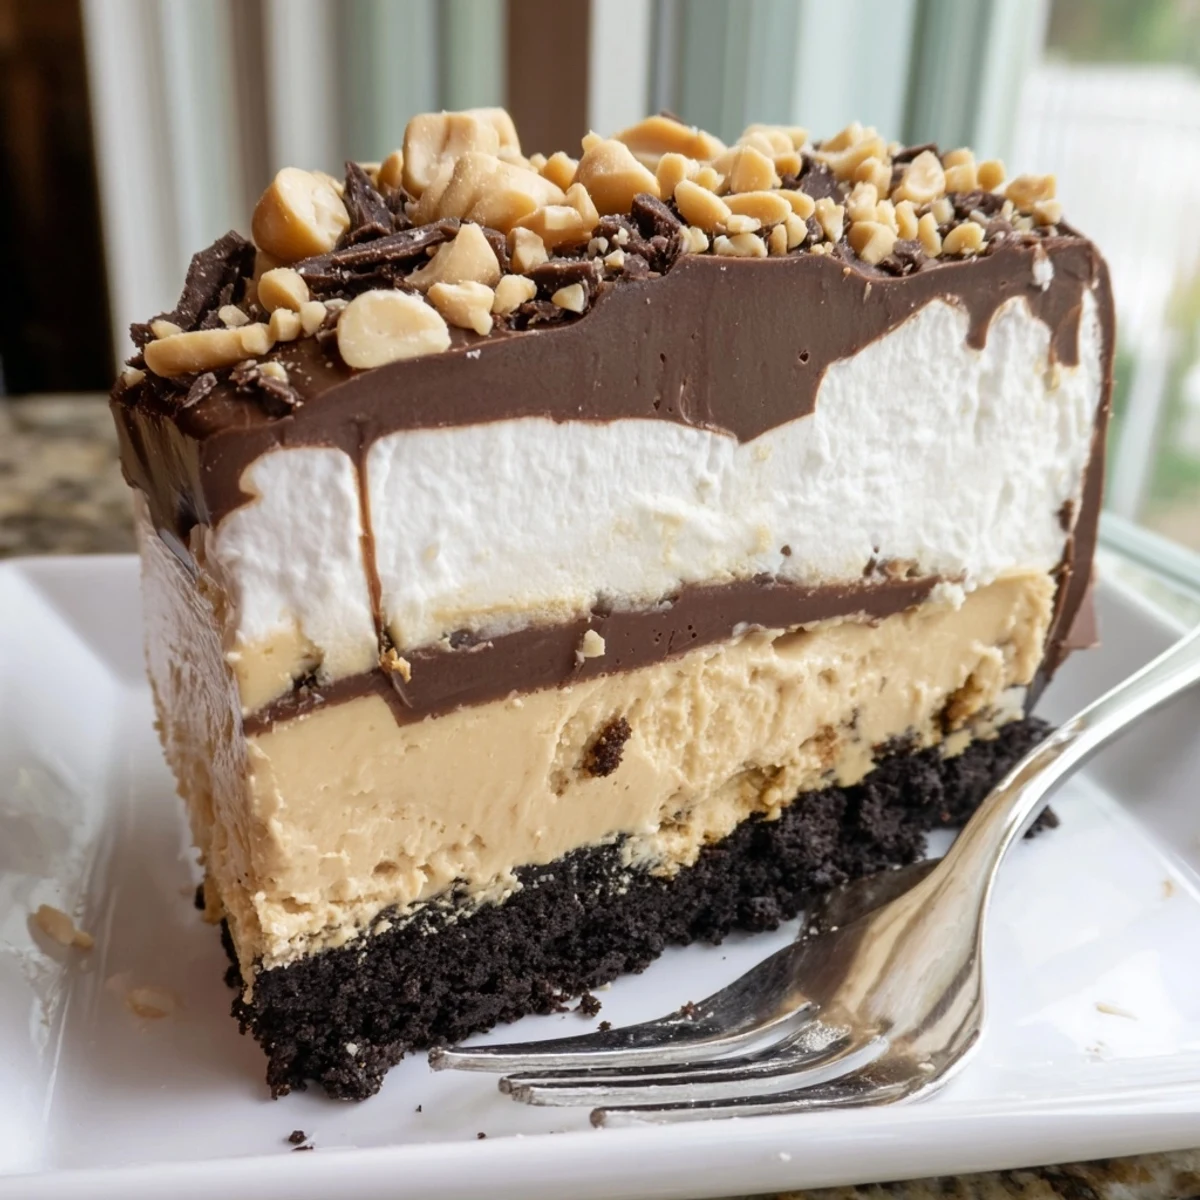
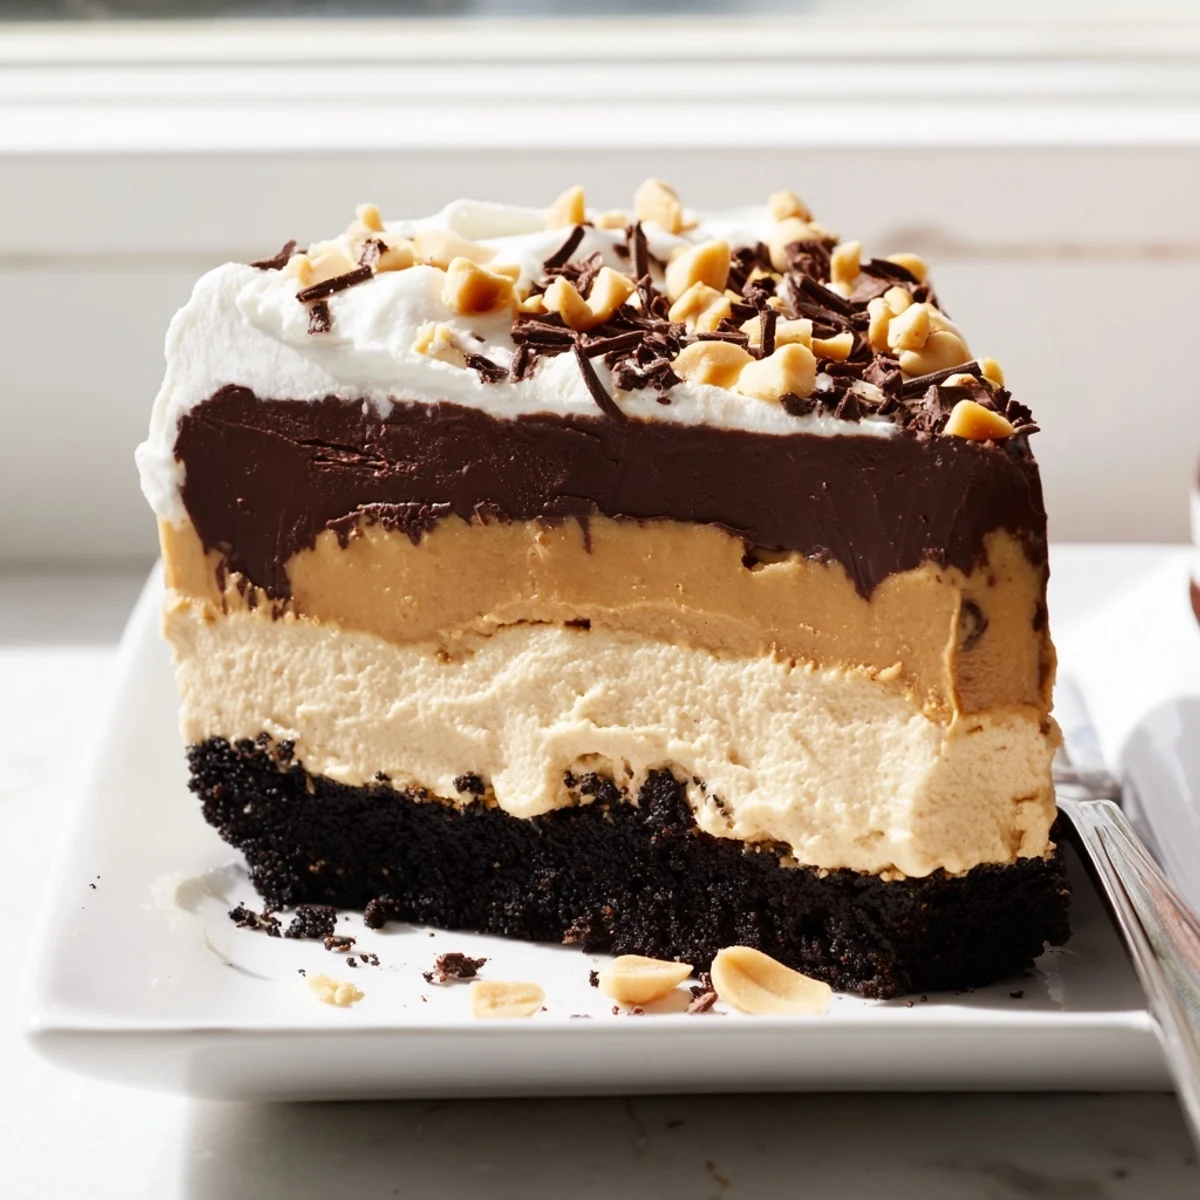
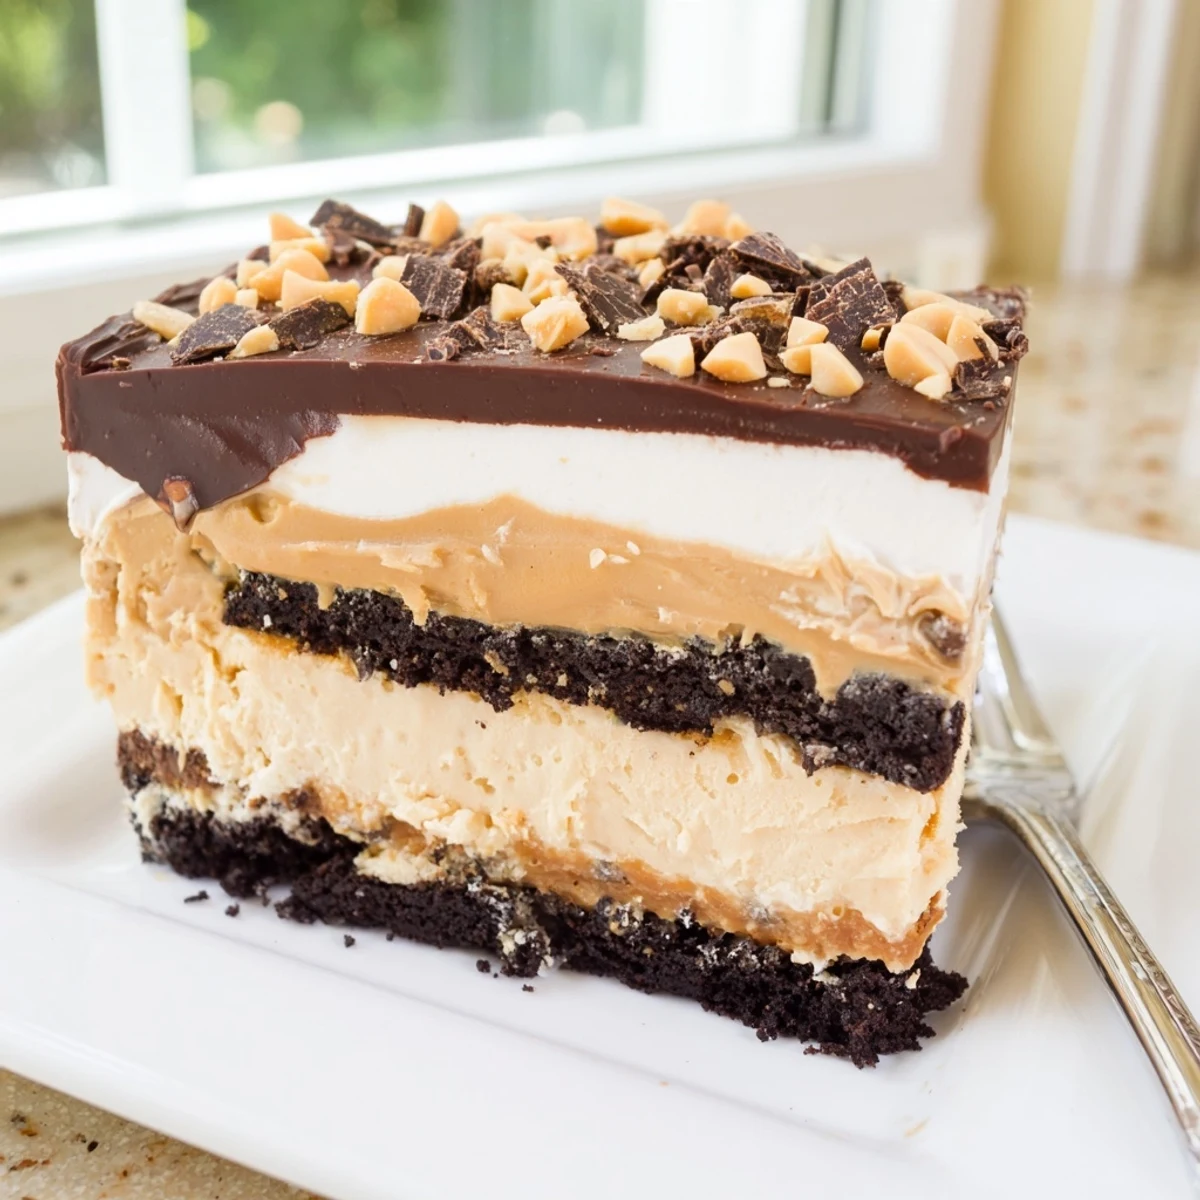
Save This no-bake peanut butter layered delight is a showstopper dessert that comes together in just 25 minutes of prep time. A buttery chocolate cookie crust forms the foundation, topped with a luscious cream cheese and peanut butter mousse, followed by a glossy chocolate ganache layer.
Finished with billowy whipped topping, chopped peanuts, and chocolate shavings, each slice delivers incredible texture contrast. Simply assemble, chill for at least four hours, and serve cold for the ultimate indulgent treat that feeds eight.
The summer my air conditioner broke was the summer I became obsessed with no bake desserts, and this peanut butter layered delight saved my sanity on more than one sticky evening. Something about pressing crushed cookies into a pan while sweat dripped down my neck felt absurd and wonderful at the same time. My roommate walked in, took one look at the three bowls I had going, and declared it looked like a science experiment. That science experiment disappeared by breakfast the next morning.
I brought this to a potluck once and watched a woman named Diane eat three pieces while telling everyone within earshot that she was not a dessert person. That moment taught me everything I needed to know about peanut butter and chocolate combined into one dish. People lose their composure, and it is beautiful to witness.
Ingredients
- Chocolate sandwich cookies: You want them crushed finely but not pulverized into dust, since some texture makes the base more interesting. A zip top bag and a rolling pin work better than a food processor for controlling the crush.
- Unsalted butter: Melted butter binds the crumbs together and a little goes a long way, so measure carefully.
- Cream cheese: Softened is nonnegotiable here, cold cream cheese will leave you with ugly lumps no matter how hard you beat it.
- Creamy peanut butter: Use the regular shelf stable kind rather than natural, the stabilizers help it set up firm and sliceable.
- Powdered sugar: This sweetens the peanut butter layer and gives it that dense fudgy quality.
- Whipped topping: Folded in gently it lightens the peanut butter layer into something mousse like.
- Semisweet chocolate chips: The ganache layer needs real chocolate, not chips labeled as baking morsels, check the ingredient list for cocoa butter.
- Heavy cream: Combined with chocolate it creates a ganache that sets firm but remains sliceable.
- Chopped roasted peanuts: Optional but they add a salty crunch that balances all the sweetness beautifully.
Instructions
- Build the crust:
- Toss your crushed cookies with melted butter until every crumb glistens slightly and the mixture holds together when you squeeze it. Press it firmly and evenly into the bottom of your springform pan, using the bottom of a measuring cup to get it really flat. Freeze for fifteen minutes while you move on to the filling.
- Whip up the peanut butter layer:
- Beat the cream cheese, peanut butter, and powdered sugar together until completely smooth and no streaks remain. Scrape the bowl once or twice because cream cheese loves to hide in corners. Gently fold in the whipped topping with a spatula, using slow sweeping motions so you do not deflate it. Spread this over your chilled crust and try to make it as even as possible.
- Make the chocolate ganache:
- Combine chocolate chips and heavy cream in a microwave safe bowl and heat in short twenty second bursts, stirring after each one. Stop when it is glossy and smooth with no visible chips remaining. Let it cool for about five minutes so it does not melt the peanut butter layer underneath, then pour and spread it evenly across the top.
- Chill everything:
- Cover the pan gently with plastic wrap and refrigerate for at least four hours, though overnight is even better if you can stand the wait. The layers need time to firm up and get friendly with each other.
- Top and serve:
- Spread the remaining whipped topping over the set chocolate layer and scatter chopped peanuts and chocolate shavings across the surface. Run a sharp knife under hot water, dry it, and slice for clean beautiful pieces. Serve cold and watch people close their eyes on the first bite.
 Save
Save The night Diane went back for her fourth piece, she admitted she had been having a terrible week and that this dessert was the first thing that made her smile. Food does that sometimes, quietly showing up when you need it most.
Swaps and Twists That Actually Work
I have made this with almond butter when a friend with a peanut allergy came over, and while it was different, nobody complained. Crushed pretzels mixed into the cookie base add a salty snap that regular cookies cannot match. Gluten free chocolate cookies work perfectly for the crust if you need to accommodate someone.
What to Serve Alongside
Cold milk is the obvious choice and honestly the best one, but a cup of dark roast coffee cuts through the richness in a really satisfying way. A glass of dessert wine alongside feels fancy if you are serving this at a dinner party. Skip fruit pairings entirely, they clash with the peanut butter in a strange way.
Storing Your Leftovers
Cover the pan tightly and keep it in the refrigerator for up to four days, though it never lasts that long in my house. The crust softens slightly over time but the flavor actually improves on day two. You can freeze individual slices wrapped tightly in plastic for up to a month, which is a dangerous thing to know about.
- Let frozen slices thaw in the refrigerator overnight rather than on the counter.
- Keep the plastic wrap from pressing directly against the whipped topping to avoid a smeared mess.
- A warm knife blade is still your best friend for clean slices even on leftovers.
 Save
Save This is the kind of dessert that makes people think you spent all day in the kitchen when really you spent twenty minutes and then let the refrigerator do the rest. Keep that secret as long as you want.
Recipe FAQs
- → Can I make this dessert ahead of time?
-
Absolutely! In fact, this dessert benefits from being made in advance. You can prepare it up to two days before serving and keep it covered in the refrigerator. The layers set beautifully and the flavors meld together overnight.
- → What can I substitute for whipped topping?
-
You can use an equal amount of freshly whipped heavy cream sweetened with a tablespoon of powdered sugar and a splash of vanilla extract. Stabilize it with a teaspoon of gelatin if you want it to hold up longer.
- → How do I get clean slices when serving?
-
Use a sharp knife dipped in hot water and wiped dry between each cut. The heat helps glide through the layers cleanly. Also ensure the dessert has chilled for the full four hours minimum before slicing.
- → Can I use natural peanut butter instead of creamy?
-
Standard creamy peanut butter works best for the smoothest texture and proper setting. Natural peanut butter tends to separate and can make the layer oily. If using natural, stir it very thoroughly and consider adding an extra tablespoon of powdered sugar.
- → Is there a gluten-free option for the cookie base?
-
Yes, simply swap the chocolate sandwich cookies for your favorite gluten-free chocolate cookie alternative. Many brands offer gluten-free versions that crush and press into the base exactly the same way.
- → How should I store leftovers?
-
Cover the pan tightly with plastic wrap or transfer slices to an airtight container. Store in the refrigerator for up to four days. This dessert does not freeze well as the whipped topping and cream cheese layer can become grainy when thawed.