 Save
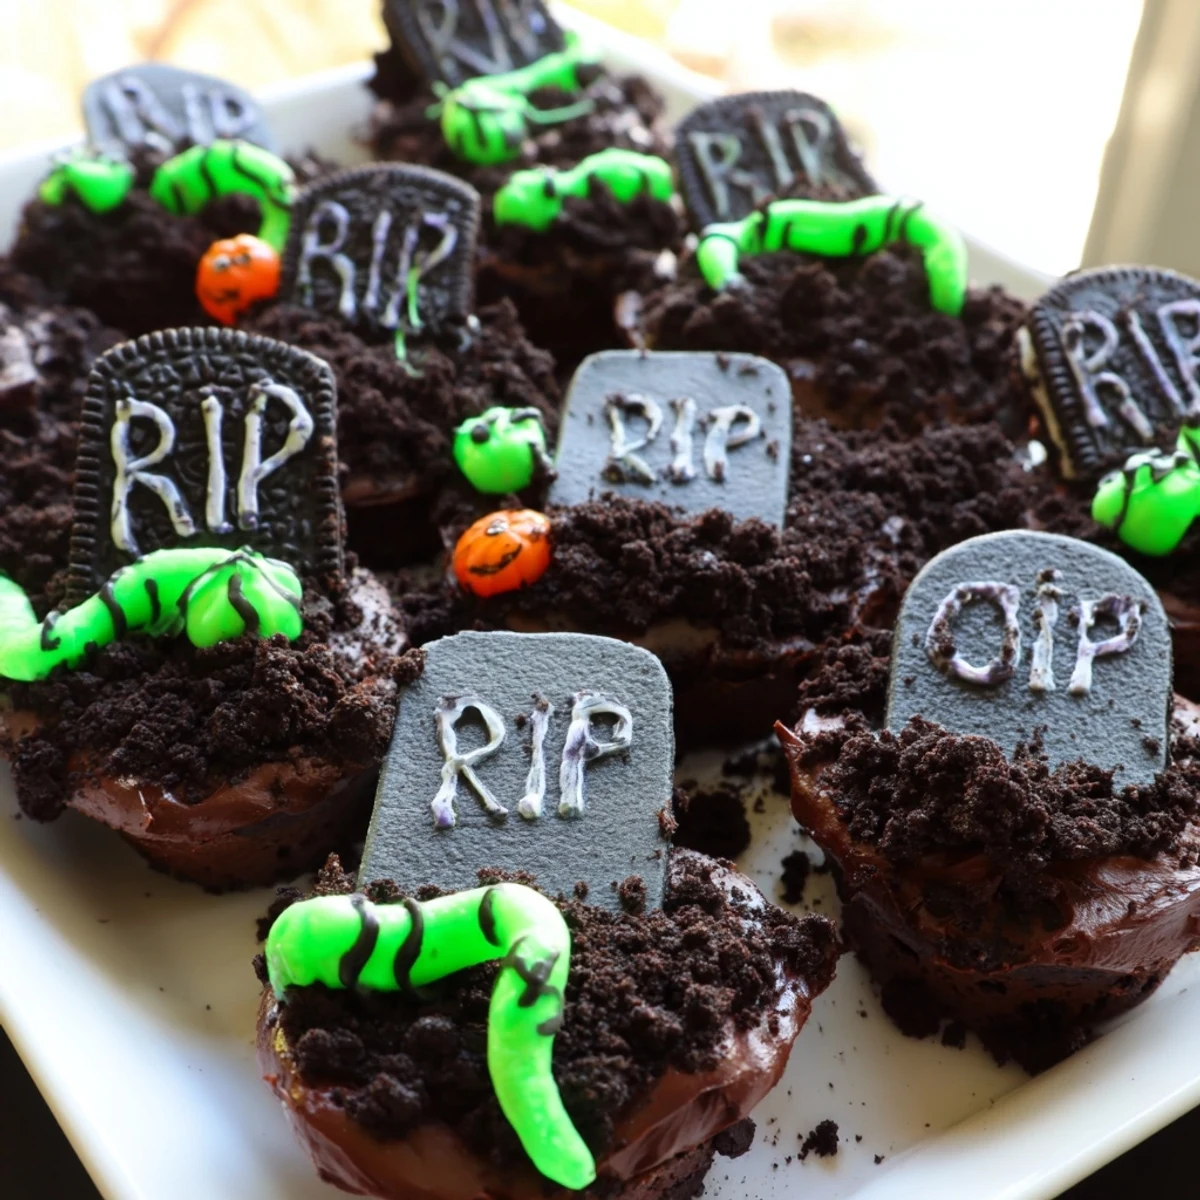
Save These graveyard-themed cupcakes combine moist chocolate cake with rich buttercream frosting for a spooktacular Halloween dessert. The pull-apart arrangement creates an edible cemetery scene, complete with crushed chocolate cookie "dirt" and customizable cookie tombstones.
Perfect for Halloween parties, this interactive dessert takes just 50 minutes from start to finish and serves 8-10 guests. Kids love helping decorate the tombstones and arrange the creepy gummy worm accents.
The chocolate frosting pairs beautifully with the vanilla cupcake base, while the textural contrast of crunchy cookie topping adds satisfying dimension. Make them gluten-free with simple substitutions without sacrificing flavor or festive appearance.
The way my youngest daughter's eyes lit up when she first saw these cupcakes at our neighborhood Halloween potluck still makes me smile. She spent twenty minutes arranging and rearranging the tombstone cookies, creating an entire backstory for each skeleton.
Last October, three of us sat around the kitchen table decorating these while sipping cider and debating whether gummy worms were rising from the grave or just visiting. Those cupcakes disappeared faster than the ghost stories we were telling.
Ingredients
- All-purpose flour: The foundation that gives these cupcakes their tender crumb structure
- Unsalted butter: Room temperature butter creamed with sugar creates the perfect cupcake texture
- Whole milk: Adds moisture and richness that makes the cake memorable
- Unsweetened cocoa powder: Creates an intensely chocolate frosting that doesn't need much sugar to shine
- Chocolate sandwich cookies: Crushing these between your fingers for dirt might be the most satisfying part of the whole process
Instructions
- Bake the cupcakes:
- Cream your butter and sugar until it looks pale and fluffy, then beat in eggs one at a time. Whisk the dry ingredients together in a separate bowl, then alternate adding them with milk until everything just comes together.
- Frost and assemble:
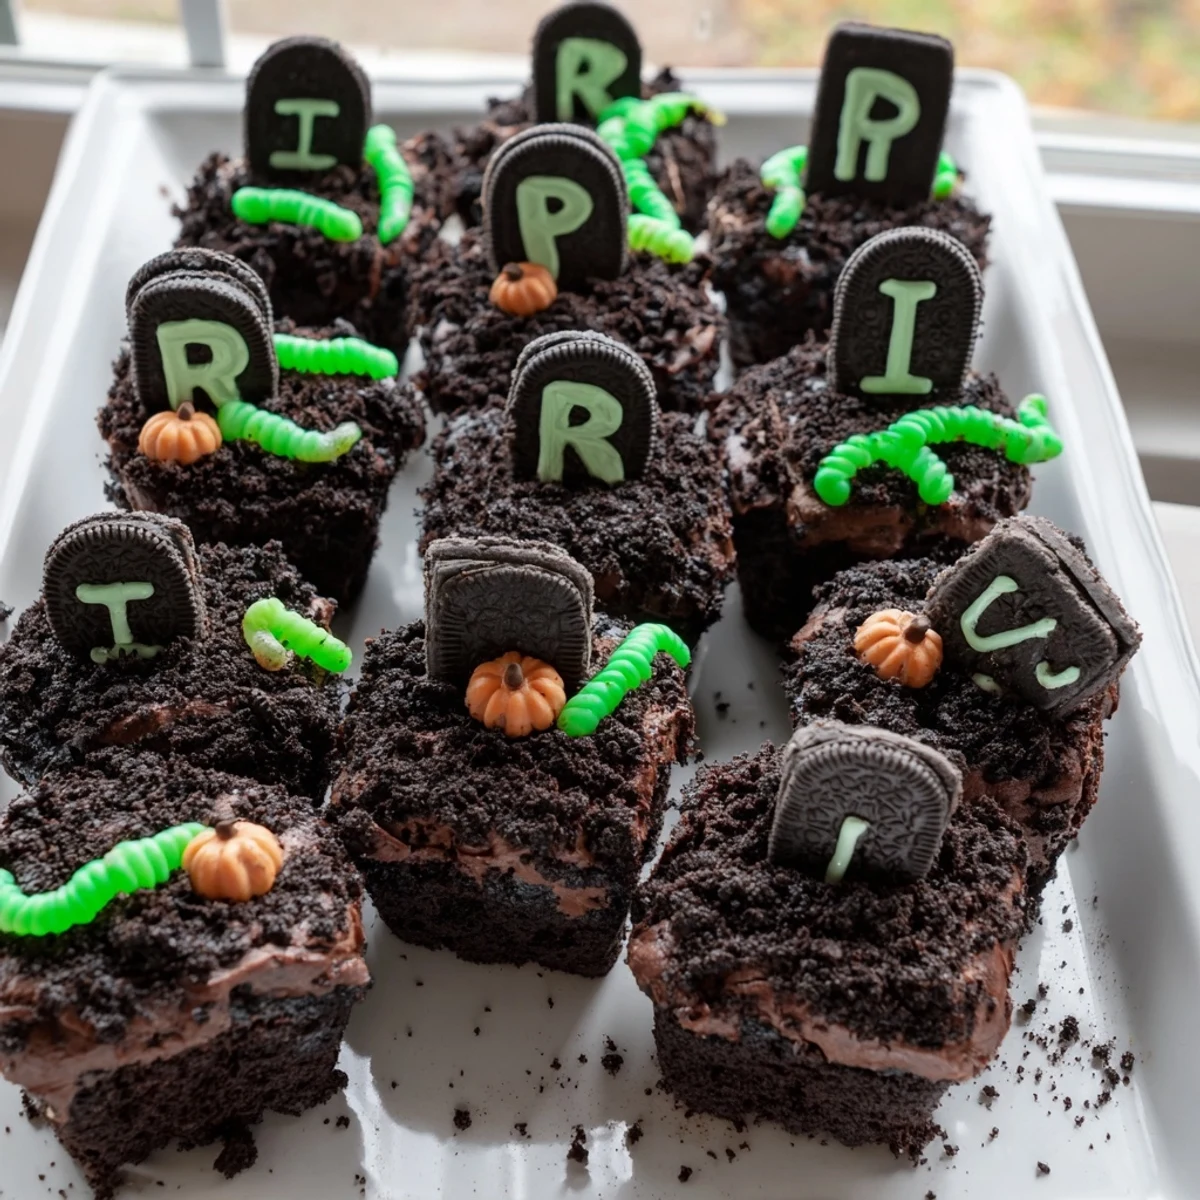
- Arrange your cooled cupcakes touching each other on a serving platter, then spread chocolate frosting generously across them like youre frosting one giant cake surface. Sprinkle crushed cookies over the top and press in your decorated tombstone cookies wherever the mood strikes.
 Save
Save My neighbor now requests these for every gathering, Halloween or not, and honestly the graveyard theme has become surprisingly versatile for all occasions.
Making The Dirt Texture
Ive found that crushing the sandwich cookies in a ziplock bag with a rolling hammer gives you the most convincing soil texture. Some larger crumbs mixed with the fine powder creates depth that looks remarkably real.
Tombstone Placement Strategy
Start by placing your tallest tombstones in the back and work forward with smaller ones. This creates actual dimension in your graveyard scene and makes the whole display feel professionally designed.
Decorating Beyond The Basics
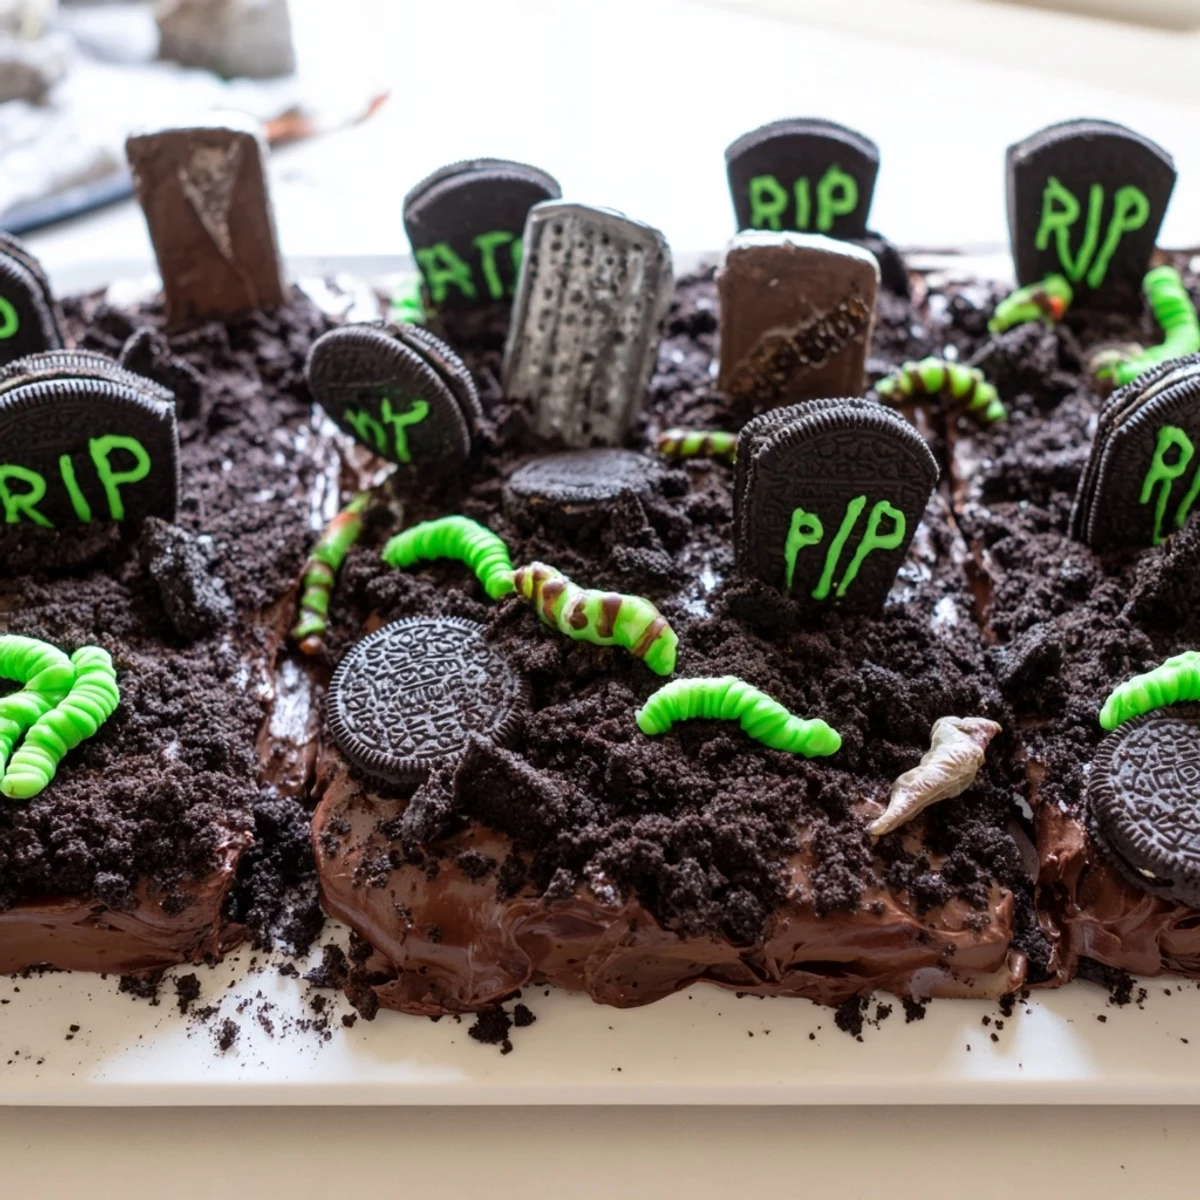
The year I added candy pumpkins and faux spiderwebs made with stretched cotton candy was the year these became legendary in our friend group. Sometimes its the tiny extra touches that make people remember a dessert years later.
- Candy bones peeking out from the cookie dirt add surprisingly creepy detail
- A small plastic fence or skeleton hand prop can elevate the entire scene
- Keep extra crushed cookies nearby for touch ups before serving
 Save
Save There is something deeply satisfying about combining whimsy and chocolate in a way that brings genuine joy to everyone who sees it.
Recipe FAQs
- → How far ahead can I make these Halloween cupcakes?
-
Bake cupcakes up to 2 days in advance and store in an airtight container. Frost and decorate the day of serving for best results. The cookie tombstones can be prepared ahead and stored separately.
- → What cookies work best for the tombstone decorations?
-
Rectangular biscuits, Milano cookies, or shortbread cookies work perfectly. Look for cookies with a flat surface that's easy to write on with gel icing. Vanilla wafers or digestive biscuits also make great tombstones.
- → Can I make these graveyard cupcakes gluten-free?
-
Substitute the all-purpose flour with a 1:1 gluten-free flour blend. Use gluten-free chocolate sandwich cookies for the dirt and gluten-free cookies for tombstones. The texture and taste remain delicious.
- → How many cupcakes do I need for a graveyard arrangement?
-
Twelve cupcakes create a perfect rectangular graveyard. Arrange them in 3 rows of 4 or 4 rows of 3 on your serving tray. The pull-apart style allows guests to easily remove individual portions while maintaining the graveyard aesthetic.
- → What other Halloween decorations can I add?
-
Candy bones, skull-shaped sprinkles, edible eyes, or pretzel sticks shaped as fences work wonderfully. Bone-shaped candy, chocolate rocks, or orange and black sprinkles enhance the spooky theme while keeping everything edible.
- → How do I transport decorated graveyard cupcakes safely?
-
Use a flat, sturdy tray or baking sheet with raised edges. Chill the assembled cupcakes for 15-20 minutes before transport to set the frosting. Cover loosely with plastic wrap or a cake dome, ensuring nothing touches the decorations.