
 Save
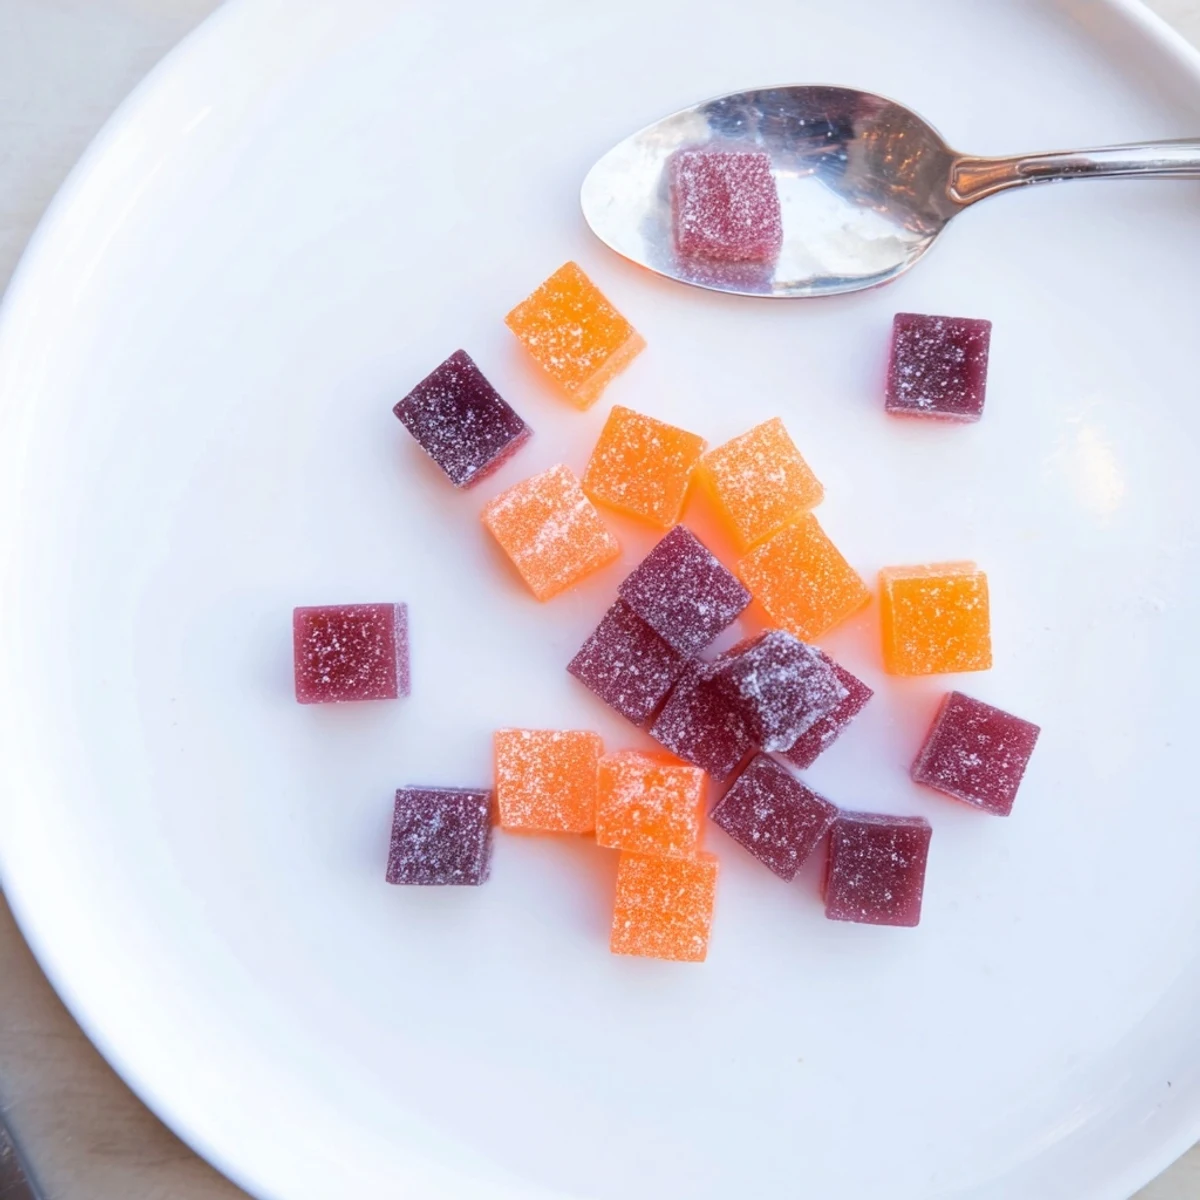
Save These collagen fruit jellies combine pure fruit juice, grass-fed collagen peptides, and unflavored gelatin into delightfully chewy bites that set in the fridge. The preparation takes under 20 minutes of active time, and the remaining hours are hands-off chilling.
Each piece delivers a modest protein boost while staying naturally sweet and free from common allergens, gluten, and dairy. Customize the flavor by choosing your favorite 100% fruit juice—orange, mixed berries, or apple all work beautifully.
Store them in an airtight container in the refrigerator for up to one week, making them an excellent make-ahead option for lunchboxes, afternoon snacks, or post-dinner treats.
My fridge started looking like a candy lab after my niece declared these jellies were better than gummy bears, and she is a ruthlessly honest judge of all things sweet. The collagen twist happened by accident when I dumped a scoop into the juice instead of my morning coffee, and honestly it was the best mistake I made that week. They are bouncy, bright, and disappear faster than you would expect from something so simple.
I brought a batch of these to a backyard picnic last summer and three people texted me the next day asking for the recipe. There is something about jewel toned little squares sitting on a plate that makes everyone curious, and then one bite makes them devoted.
Ingredients
- 1 cup 100% fruit juice: Orange gives a sunny citrus flavor, but mixed berry creates the prettiest deep purple color and apple keeps things mild for picky eaters.
- 2 to 3 tablespoons honey or maple syrup: This is optional depending on how sweet your juice is, so taste your juice first and decide.
- 2 tablespoons grass-fed collagen peptides: Dissolves invisibly into the warm liquid and adds a subtle protein boost without changing the texture at all.
- 3 tablespoons unflavored gelatin powder: This is what gives the jellies their signature chew, and blooming it properly is the one step you cannot rush.
Instructions
- Bloom the gelatin:
- Pour the juice into a small saucepan and sprinkle the gelatin evenly across the surface, then let it sit untouched for 2 to 3 minutes until it looks wrinkled and absorbed. Do not stir yet, just let it do its thing.
- Gently warm and dissolve:
- Set the pan over low heat and whisk constantly until the gelatin disappears completely and the liquid looks smooth and glossy. Keep the heat low because boiling will weaken the set and you want these jellies to have real bounce.
- Stir in the collagen and sweetener:
- Take the pan off the heat and whisk in the collagen peptides and honey or maple syrup if you are using them. The collagen dissolves fast but give it a good thirty seconds of stirring to be sure nothing clings to the bottom.
- Pour into molds:
- Carefully pour the liquid into silicone molds or a small baking dish lined with parchment paper, filling each cavity nearly to the top. A spouted saucepan helps here unless you enjoy wiping sticky juice off your counter.
- Chill until firm:
- Slide the molds or dish into the refrigerator and let them set for at least 2 full hours, though overnight is even better if you can wait that long.
- Unmold and cut:
- Pop the jellies out of the silicone molds or lift the parchment from the dish and cut into bite sized squares with a paring knife. A light dusting of cornstarch keeps them from sticking to each other in storage.
 Save
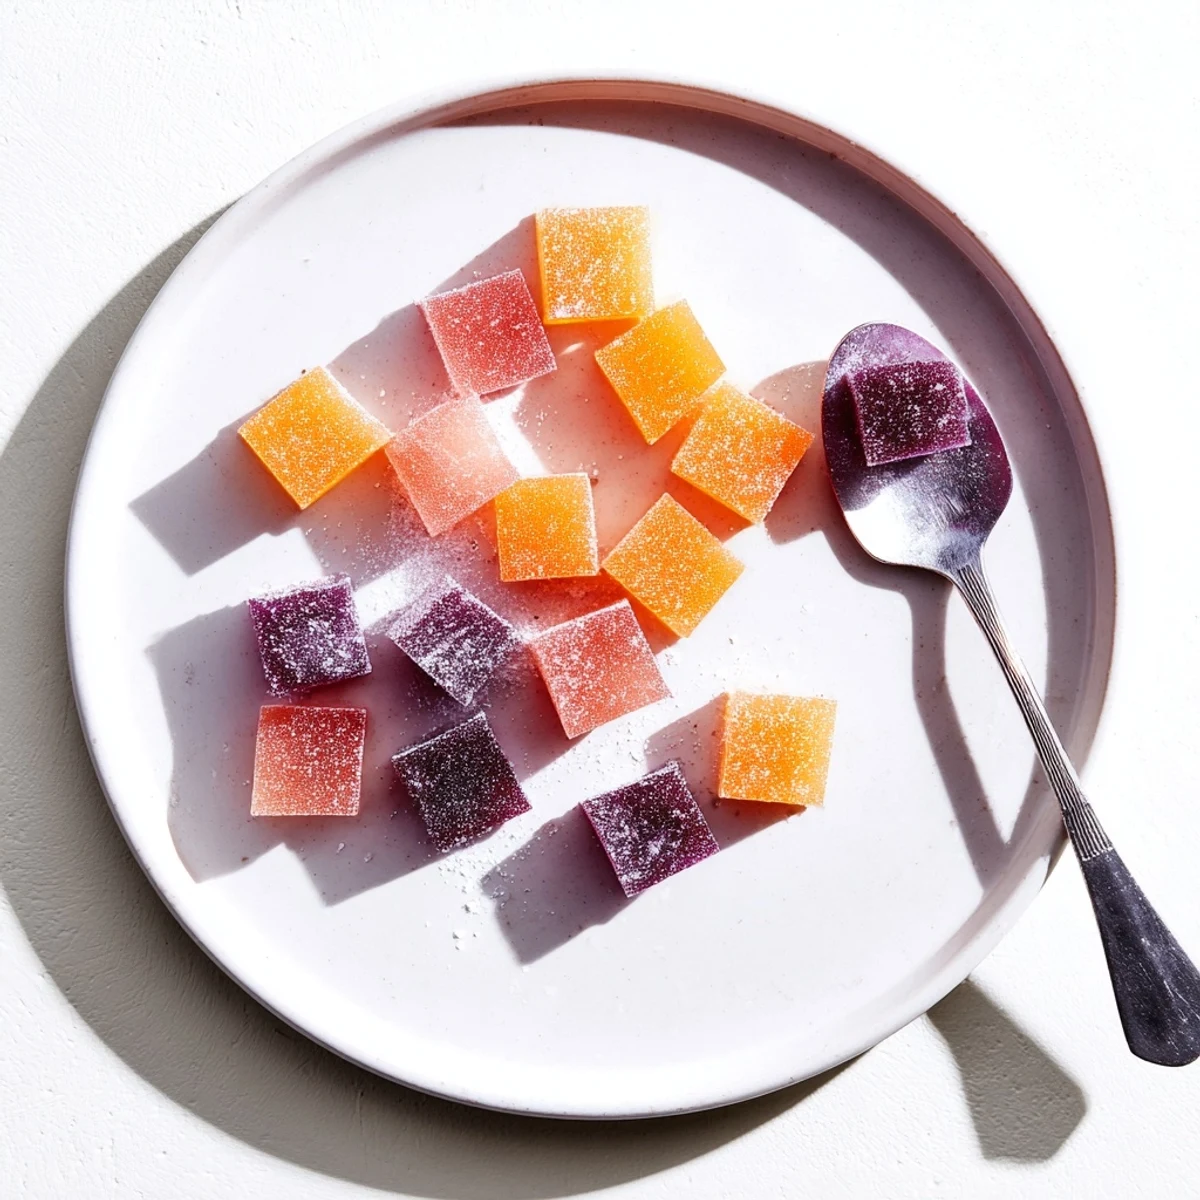
Save There is a quiet satisfaction in opening the fridge and seeing a little container of homemade fruit jellies waiting there, like a gift you left for yourself earlier in the day.
Playing With Flavors
A teaspoon of lemon juice or zest stirred in at the end brightens everything up beautifully, especially with berry or cherry juice. I once added a splash of pomegranate juice to apple base and the color turned an incredible ruby red that looked almost too pretty to eat.
Storing Your Jellies
An airtight container in the fridge keeps these fresh for up to a week, though in my house they rarely survive past day three. If you stack them, toss them with a pinch of cornstarch first so they do not fuse into one giant jelly blob.
What You Need On Hand
You really only need a small saucepan, a whisk, and either silicone molds or a baking dish to make these happen. The molds are worth picking up if you want that professional candy shop look, but a dish and a knife work just fine for everyday snacking.
- Heart shaped molds turned these into an unexpected Valentine gift that got more attention than the chocolate.
- A silicone ice cube tray with tiny compartments makes perfectly portioned mini jellies for kids.
- Always line your baking dish with parchment if you plan to cut squares, or you will be scraping jelly off the edges with a spatula.
 Save
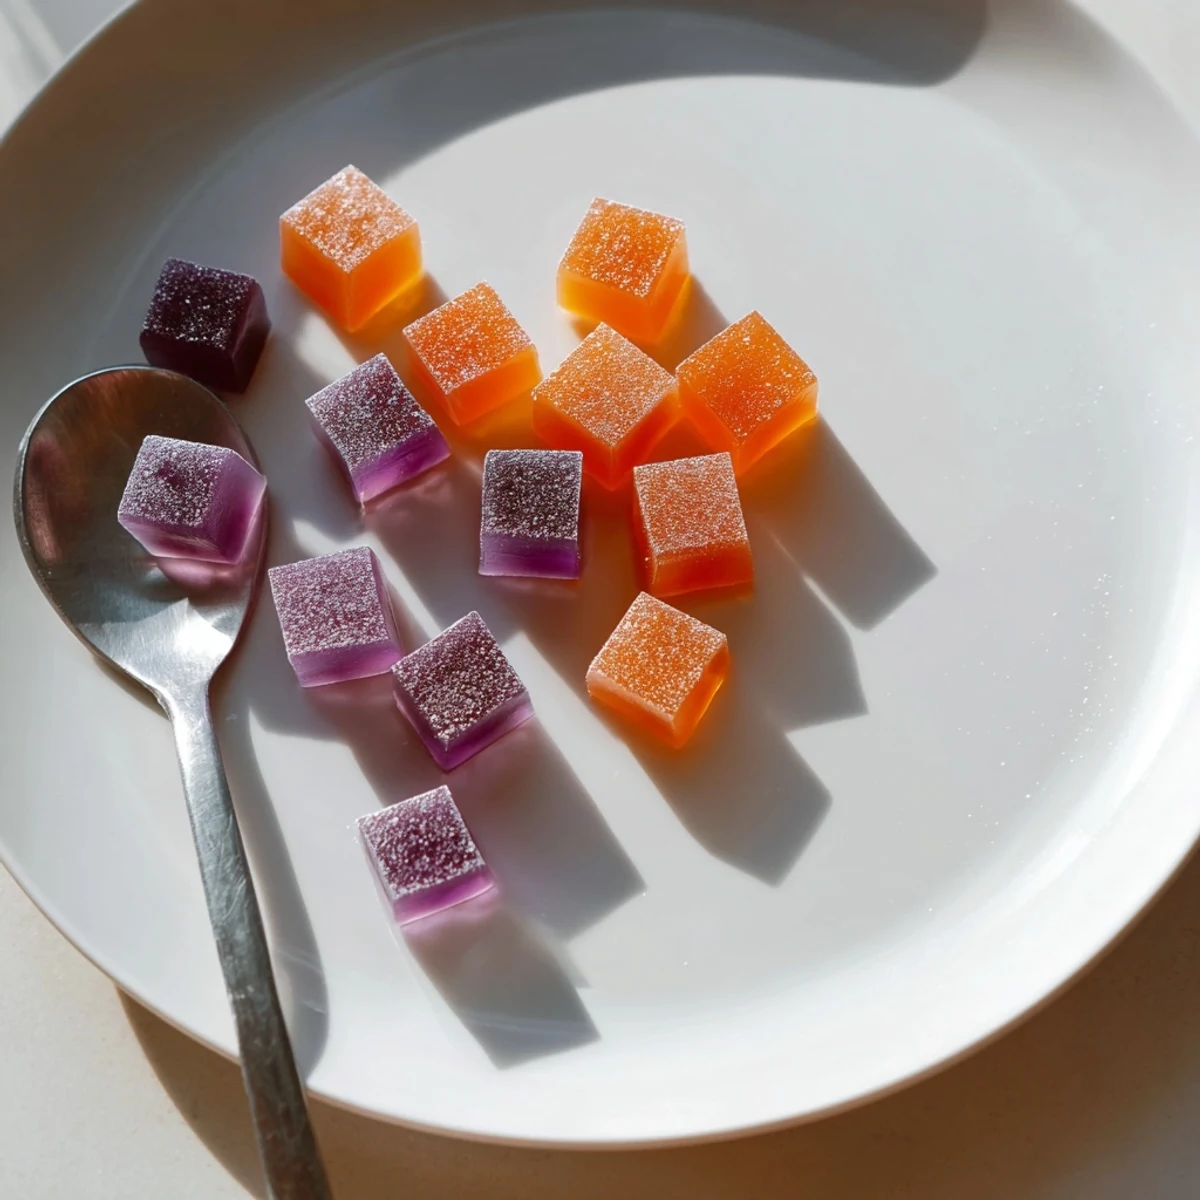
Save These little jellies are proof that the simplest recipes often become the most requested ones. Make a double batch because trust me, the first one will vanish before you even have a chance to share.
Recipe FAQs
- → Can I use agar-agar instead of gelatin?
-
Yes, agar-agar works as a plant-based alternative. Use roughly the same amount by weight, but follow the package instructions since agar-agar requires a full boil to activate, unlike gelatin which dissolves over low heat.
- → What type of fruit juice works best?
-
Any 100% fruit juice without added sugar or artificial flavors will yield great results. Orange, mixed berry, and apple are popular choices. Avoid juices with pulp, as it can interfere with the smooth texture.
- → Why add collagen peptides to fruit jellies?
-
Collagen peptides dissolve easily into warm liquids without affecting flavor or texture. They add a small protein boost and contribute amino acids that support skin elasticity and joint health, making each bite more nourishing.
- → How should I store the finished jellies?
-
Keep them in an airtight container in the refrigerator for up to one week. Lightly dusting the pieces with cornstarch before storing prevents them from sticking together.
- → Can I reduce or skip the sweetener?
-
Absolutely. The honey or maple syrup is optional and depends on the natural sweetness of your chosen juice. Taste the mixture before pouring it into molds and adjust accordingly.
- → Do I need silicone molds, or can I use a regular dish?
-
Both options work well. Silicone molds give you fun shapes with no cutting required. If using a baking dish lined with parchment paper, simply cut the set mixture into bite-sized squares with a paring knife.