 Save
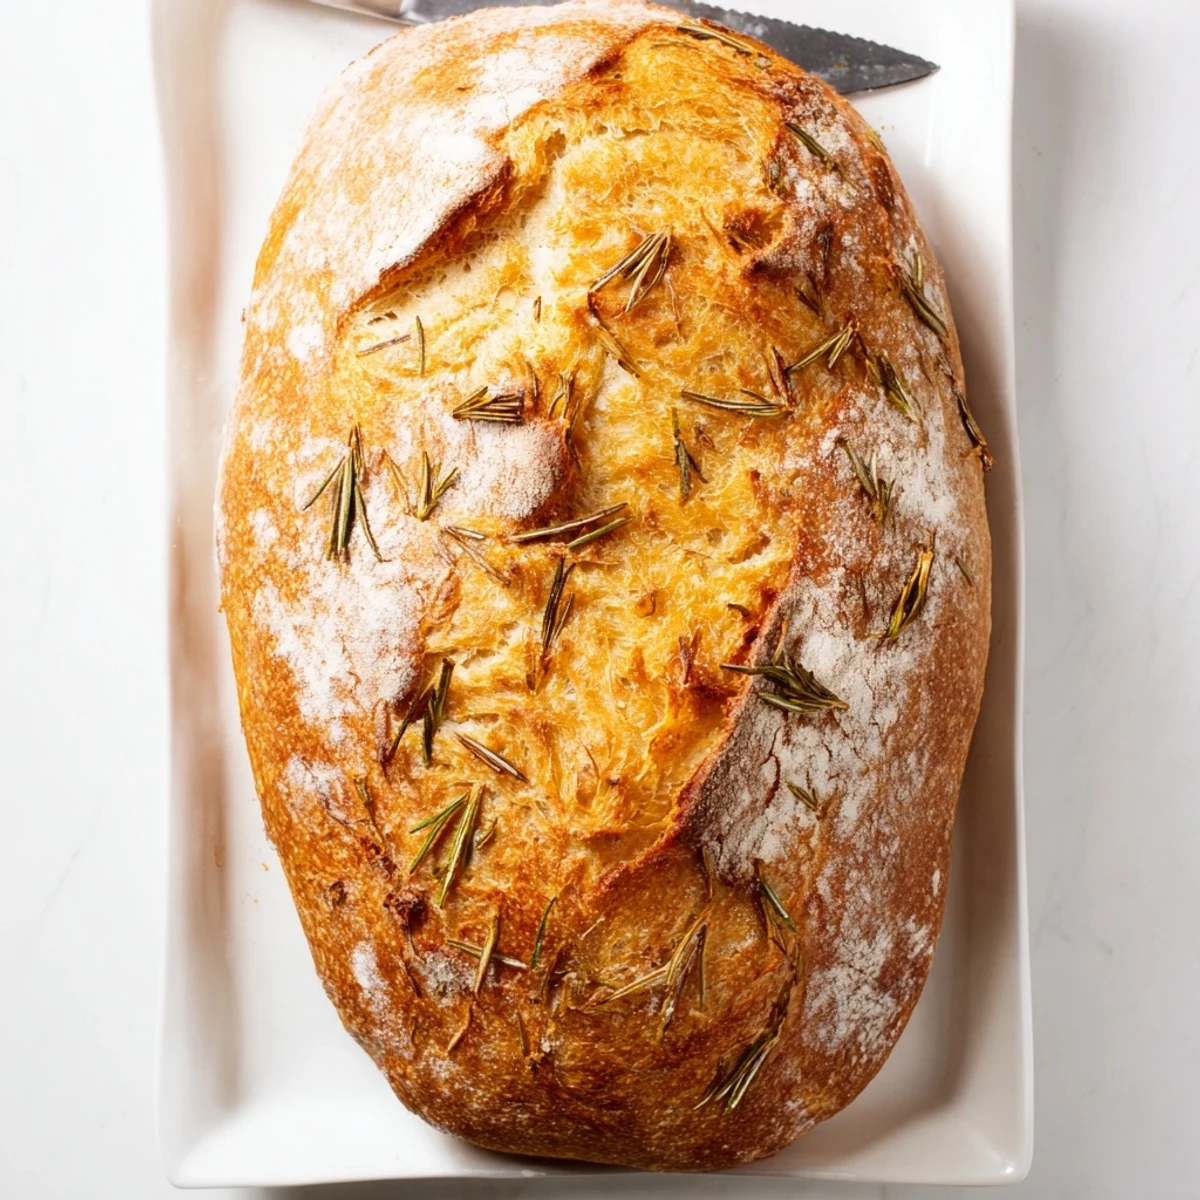
Save Create a stunning artisan loaf with minimal effort using a Dutch oven to achieve that perfect crackling crust. This European-style bread features generous amounts of fresh garlic and aromatic rosemary woven throughout a tender, pillowy crumb that's ideal for sopping up soups or serving alongside pasta.
The technique involves a simple no-knead method that lets time do the work, resulting in complex flavors without the labor. The high-heat Dutch oven baking creates steam for that professional bakery-style crust, while the combination of garlic and rosemary infuses every bite with Mediterranean warmth.
Variations are endless—try adding kalamata olives for a briny depth or sun-dried tomatoes for sweet intensity. This bread shines fresh from the oven but transforms into exceptional toast the next day, perfect topped with olive oil or creamy cheese.
The smell of garlic and rosemary baking through my apartment on a rainy Tuesday afternoon stopped me in my tracks. My neighbor actually knocked on my door to ask what I was making, which never happens in our building. That first bite, with steam still rising from the crust, made me understand why people have been baking bread this way for centuries.
I made this loaf for my mother's birthday dinner last year, and honestly, it stole the show from the main course. We stood around the kitchen island just tearing off pieces, talking about how the house smelled like an Italian bakery. Now she asks for it every time I visit, claiming it's better than anything from the bakery down her street.
Ingredients
- Bread flour: The higher protein content here gives you that professional bakery texture and structure
- Fine sea salt: Don't skip or reduce this, it's crucial for flavor and proper fermentation
- Active dry yeast: This small amount works perfectly for the long rise time
- Lukewarm water: Think bathwater temperature, around 100°F if you want to be precise
- Olive oil: Adds subtle richness and helps keep the crumb tender
- Fresh garlic: Minced finely so it distributes evenly throughout each bite
- Fresh rosemary: Use only the leaves, chopped small, for aromatic bursts throughout
Instructions
- Mix your base:
- Whisk together the flour, salt, and yeast in a large bowl until everything looks uniformly combined
- Bring it together:
- Pour in the lukewarm water and olive oil, stirring with a wooden spoon until you see a shaggy, sticky dough forming
- Add the magic:
- Fold in the minced garlic and chopped rosemary, being gentle to keep from deflating the dough too much
- Let it rise:
- Cover the bowl with plastic wrap or a clean damp towel, then walk away for 2 to 3 hours until the dough has doubled in size
- Shape the loaf:
- Turn the dough onto a floured surface, use floured hands to gently fold the edges toward the center to form a ball
- Second rise:
- Place the dough seam-side down on parchment paper, cover loosely, and let it rest for 30 to 45 minutes while you preheat your oven
- Get your oven ready:
- Put your Dutch oven with its lid on the center rack and heat to 450°F for at least 30 minutes, getting it seriously hot
- The transfer:
- Carefully lift the parchment with the dough and lower it into the screaming hot Dutch oven
- Bake covered:
- Put the lid on and bake for 30 minutes to create steam for that incredible crust
- Finish it off:
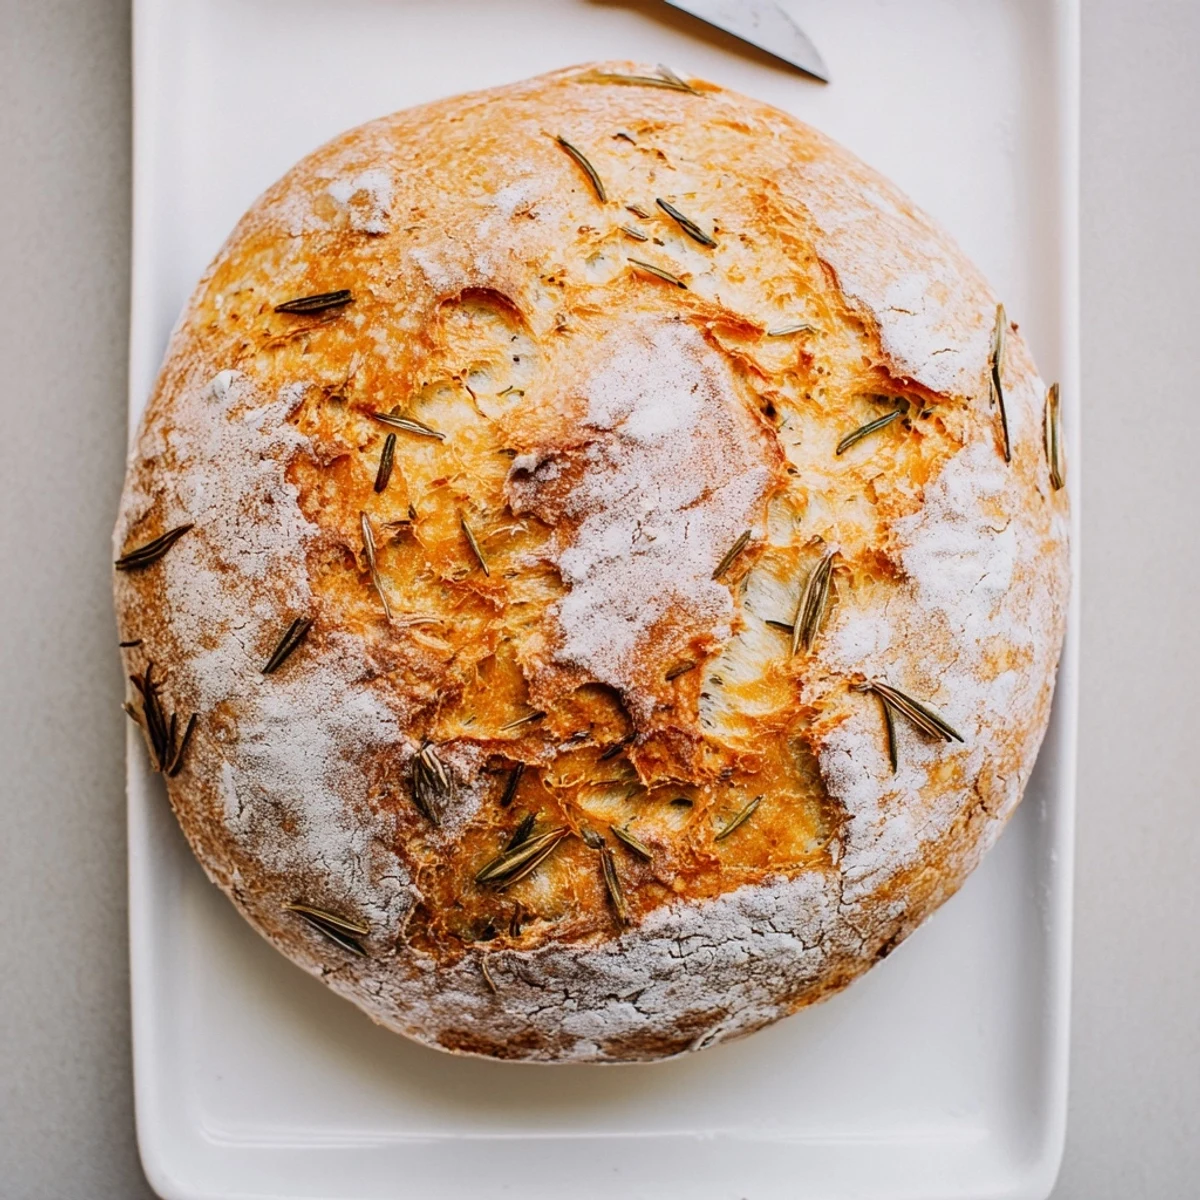
- Remove the lid and bake another 12 to 15 minutes until the crust is a deep golden brown that sounds hollow when tapped
- Cool completely:
- Let the bread rest on a wire rack for at least 20 minutes before slicing, or you'll squash all those beautiful air pockets
 Save
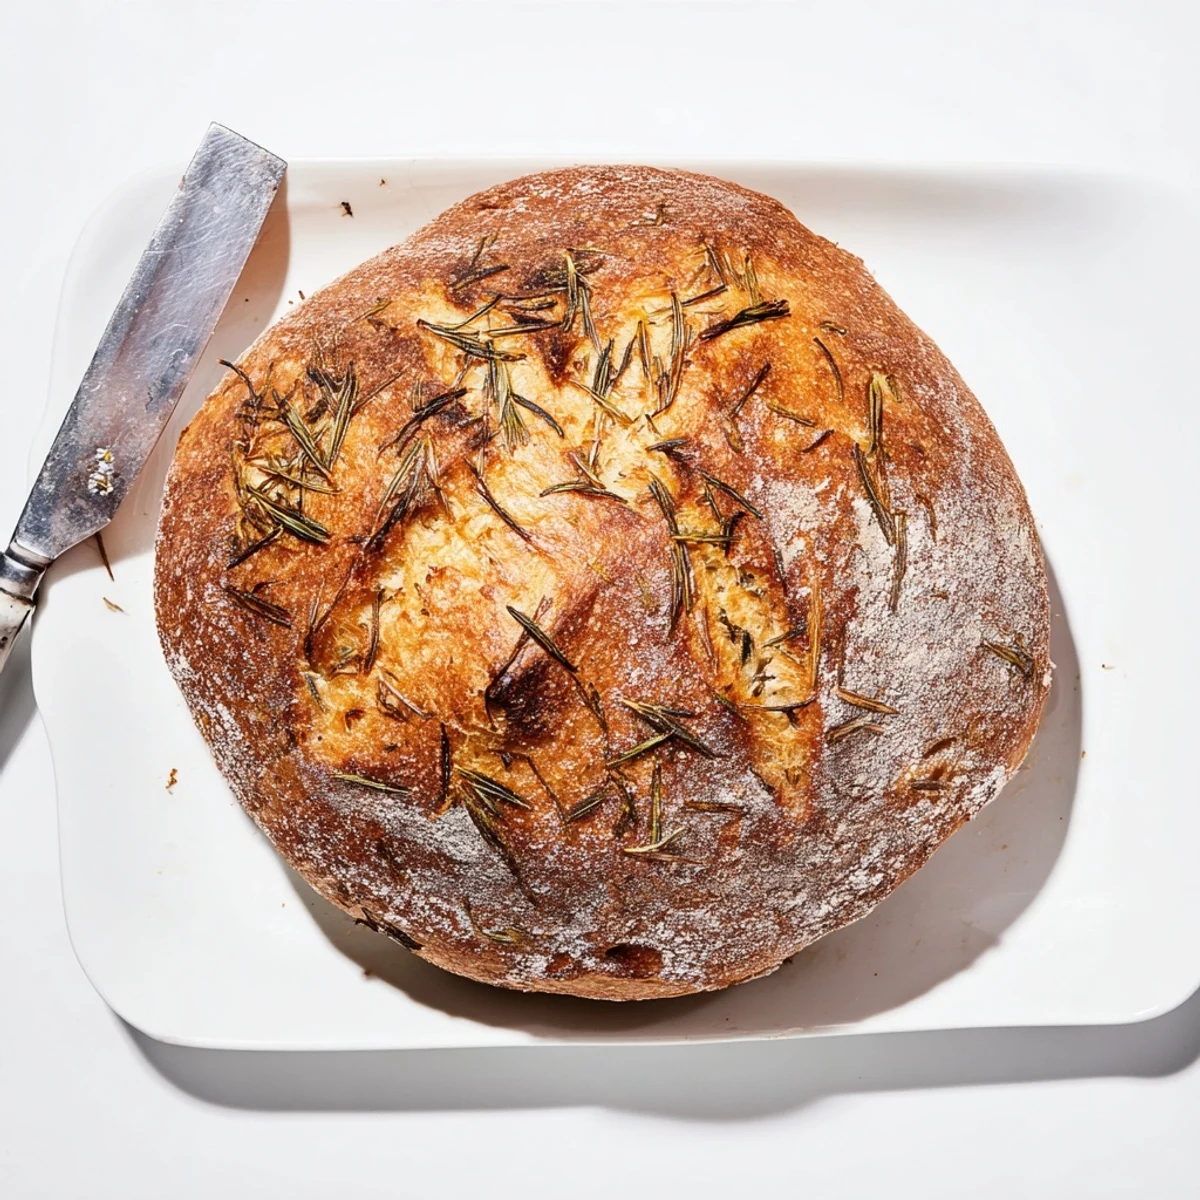
Save My friend Sarah, who claims she cannot cook anything, made this bread on her third try and texted me at midnight saying she felt like a wizard. There's something profoundly satisfying about pulling a golden loaf from that heavy pot, hearing the crust crackle as it cools. It's become my go-to when I need to bring something to gatherings, because it never fails to make people happy.
Getting The Best Crust
The steam created inside the covered Dutch oven is what gives this bread its professional bakery crust. Don't be tempted to peek during those first 30 minutes of baking. The trapped moisture works magic on the dough surface. When you remove the lid, that initial steam has done its job, and now the dry heat can finish building that gorgeous crunch.
Making It Your Own
Once you have the basic method down, this dough welcomes all sorts of variations. Kalamata olives add a briny punch that pairs beautifully with the rosemary. Sun-dried tomatoes bring a chewy sweetness throughout. You could even swap the rosemary for fresh thyme or sage depending on what's growing in your garden or what you have on hand.
Storage And Serving Ideas
This bread is at its absolute best the day you bake it, when the crust is at its crispest and the interior is perfectly tender. Leftovers, though, make phenomenal toast the next morning, or tear it into cubes for homemade croutons. Wrap it in a cloth bag, never plastic, which will make the crust soft and sad.
- Slice it thick and rub with a raw garlic clove for extra punch
- Use day-old bread for panzanella or bread pudding
- Freeze slices wrapped tightly for up to a month
 Save
Save There's nothing quite like the first slice of warm bread slathered with good butter, still faintly aromatic from the oven. This recipe has become my weekend ritual, my gift to friends, and my absolute favorite way to spend a cold afternoon making something extraordinary from almost nothing.
Recipe FAQs
- → Why use a Dutch oven for bread?
-
A Dutch oven traps steam during baking, creating the perfect environment for a crackling, golden crust to form while keeping the interior moist and tender. This professional technique yields bakery-quality results at home.
- → Can I use dried rosemary instead of fresh?
-
Fresh rosemary provides superior flavor and aroma, but you can substitute dried using one-third the amount. However, fresh herbs distribute more evenly and won't leave woody bits in your crumb.
- → How do I know when the bread is done?
-
The crust should be deep golden brown, and the bottom should sound hollow when tapped. An instant thermometer inserted into the center should read between 190-200°F for proper doneness.
- → Why is there so little yeast in this dough?
-
The long fermentation time allows natural flavors to develop while the small amount of yeast works slowly. This method creates better taste and texture compared to quick-rising doughs with more commercial yeast.
- → Can I add other ingredients to this bread?
-
This versatile base welcomes additions like kalamata olives, sun-dried tomatoes, caramelized onions, or grated parmesan. Keep mix-ins to about one cup total to maintain proper dough structure.
- → How should I store leftover bread?
-
Wrap cooled bread in a cloth or paper bag to maintain crust texture for up to two days. For longer storage, slice and freeze in an airtight bag, then toast directly from frozen for best results.